Copy Data From DigitalOcean Spaces to BackBlaze Bucket
Introduction
Backblaze is an online cloud-based object storage service that allows you to store your data safely and securely. It offers a simple, affordable, and predictable pricing. Storage is $0.005/GB/Month, with download costs of $0.01/GB. You can use SnapShooter's Sync service to copy or sync data from DigitalOcean Spaces to the Backblaze Bucket. SnapShooter provides a simple and user-friendly control panel that helps beginners control and manage all their backup jobs. SnapShooter supports many S3 providers on the marketplace, including AWS S3, DigitalOcean Spaces, Backblaze, Upcloud, Scaleway, Minio, and custom endpoints.
This post will show you how to copy data from DigitalOcean Spaces to BackBlaze Bucket using SnapShooter
Create a Backblaze Bucket
First, you will need to create a new bucket on the Backblaze website to save the data which you want to copy from DigitalOcean Spaces. Follow the below steps to create a new bucket on the Backblaze:
Step 1 - Sign in to your Backblaze account and click on the Bucket page to create a new Bucket.
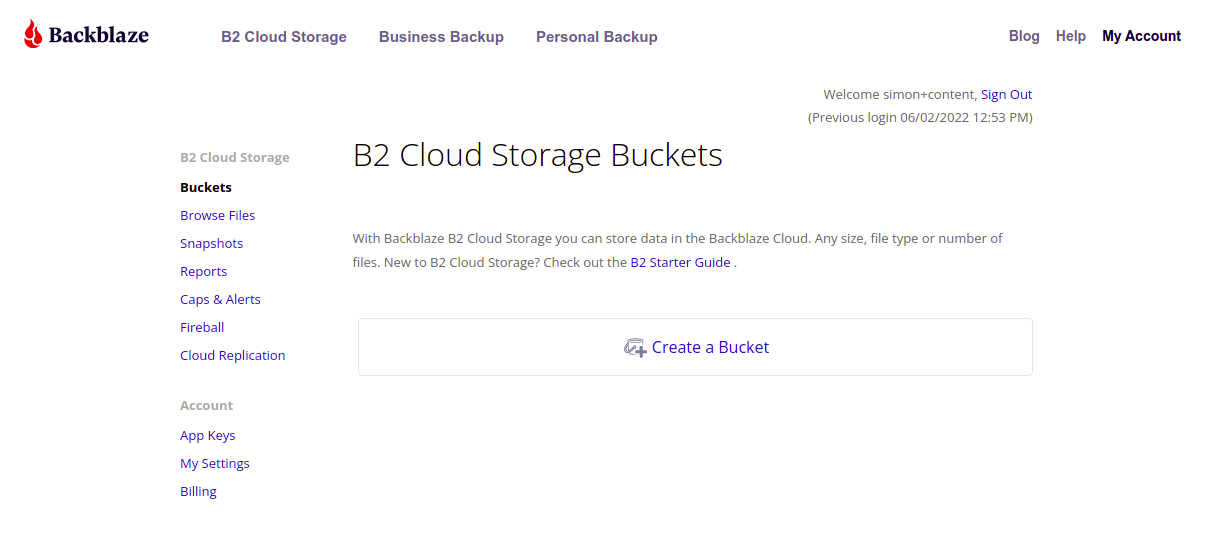
Step 2 - Click on the Create a Bucket button. You should see the following page:
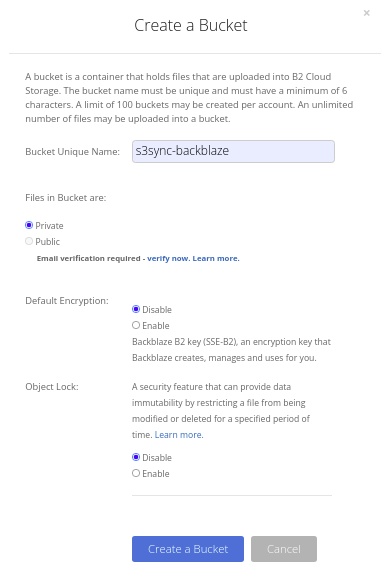
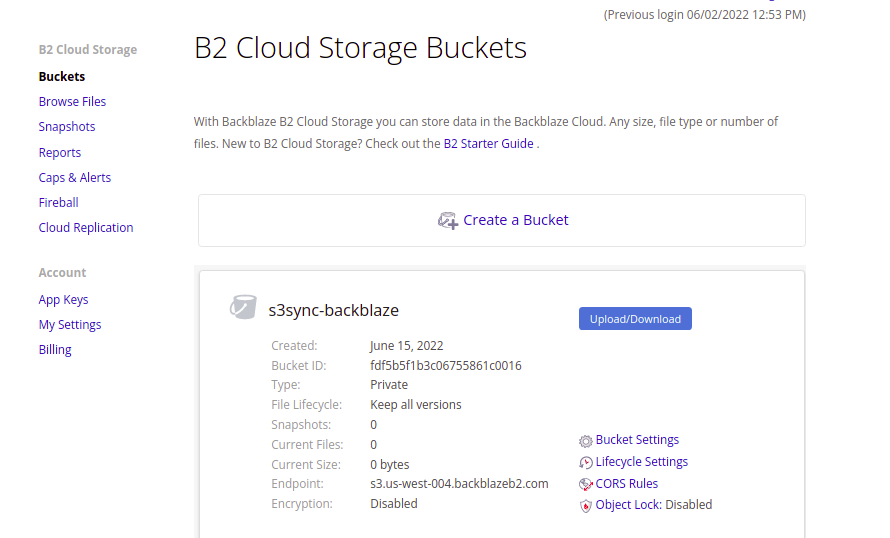
Step 3 - Provide all required information and click on the Create a Bucket button. Once the Bucket is created, you should see the following page:
Create Your Backblaze Credentials
To create backups with Backblaze, you will need to create the credentials to access it via API.
Step 1 - On the Backblaze dashboard, click on the "App Keys" in the left pane as shown below:
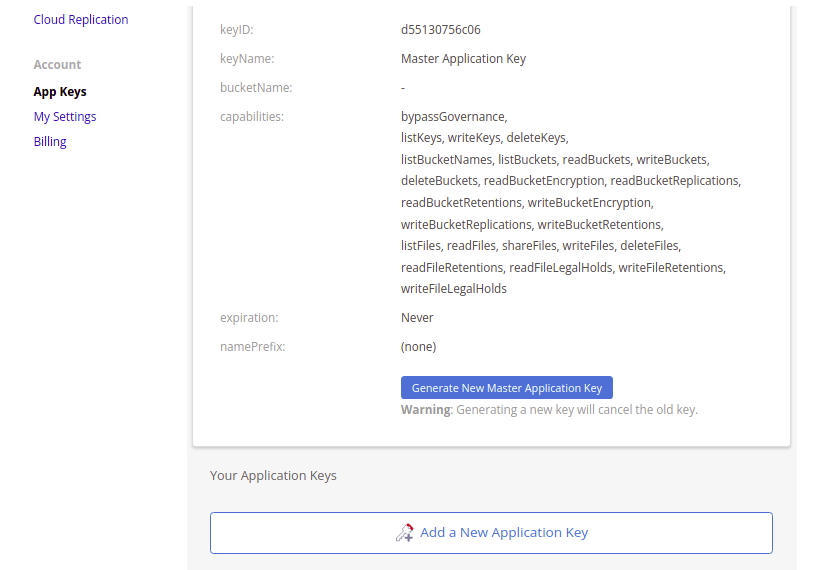
Step 2 - Now, click on the "Add a new Application Key" button. You should see the following page:

Step 3 - Provide all required details and click on the Create New Key button. You should see the following page:
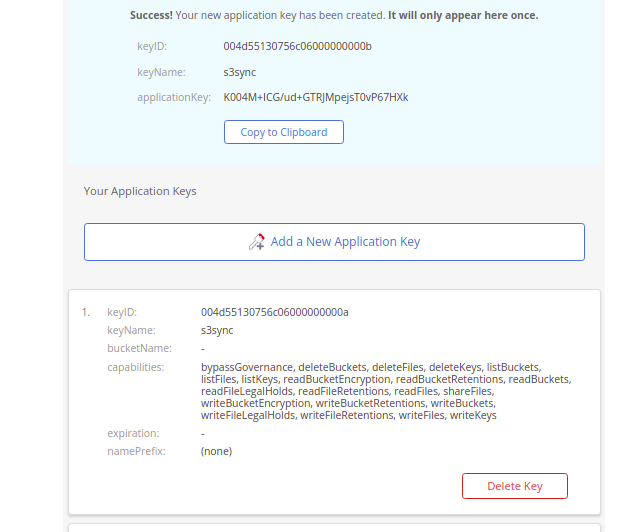
Note down the keyID, and applicationKey from the above image. You will need both to integrate Backblaze with other applications.
Add a Server to Snapshooter
You will also need to add a server to the SnapShooter. The S3 Sync service uses a server to copy data from DigitalOcean Spaces to the BackBlaze bucket.
Follow the below steps to add a server to Snapshooter:
Step 1 - First, go to the SnapShooter website and register for their 14-day free trial.
Step 2 - On the SnapShooter dashboard, click on the Servers in the left sidebar. You should see the following screen:
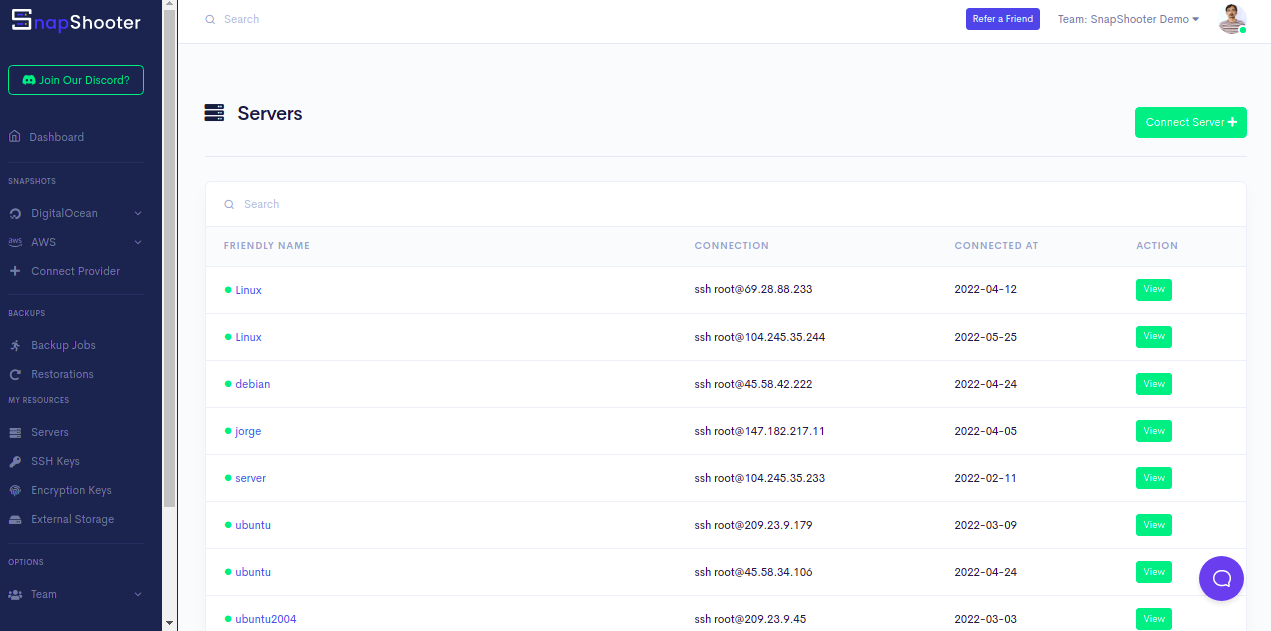
Step 3 - Click on the Connect Server. You should see the following screen:
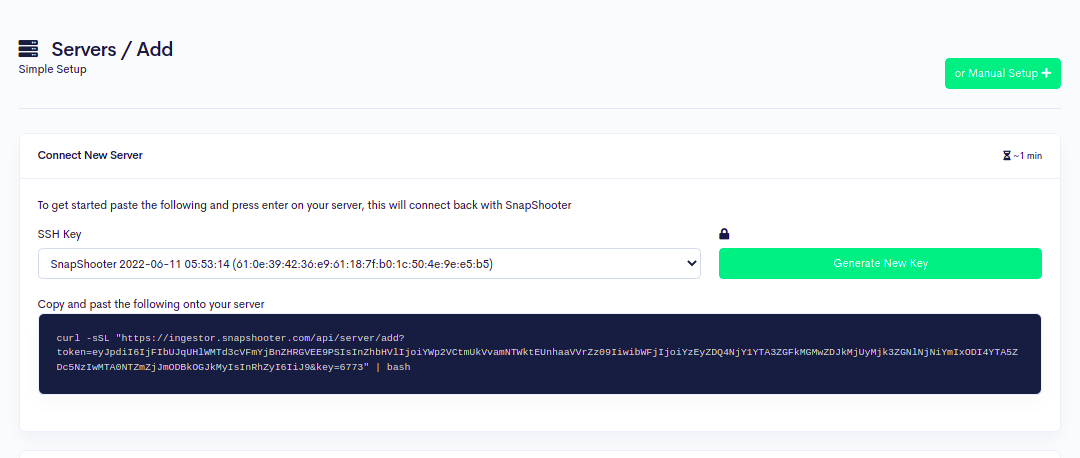
Step 4 - Copy and paste the code shown in the above image to your server:
curl -sSL "https://ingestor.snapshooter.com/api/server/add?token=eyJpdiI6Imp6Y3diYi91eXIxalk1czRrQlBHSkE9PSIsInZhbHVlIjoieEFhY0RnMWlHOUdubTgwbWQxOGVzUT09IiwibWFjIjoiMDBhODY3MTkwZWJhYzFiMTJjNzdlYzczNmEyNTJmYjk2NzQ5NzBmZmUwODgxOGI5MWJjNmRlYmM2OTQyYTlhNiIsInRhZyI6IiJ9&key=5895" | bashOnce your server is connected to the Snapshooter, you will get the following output:
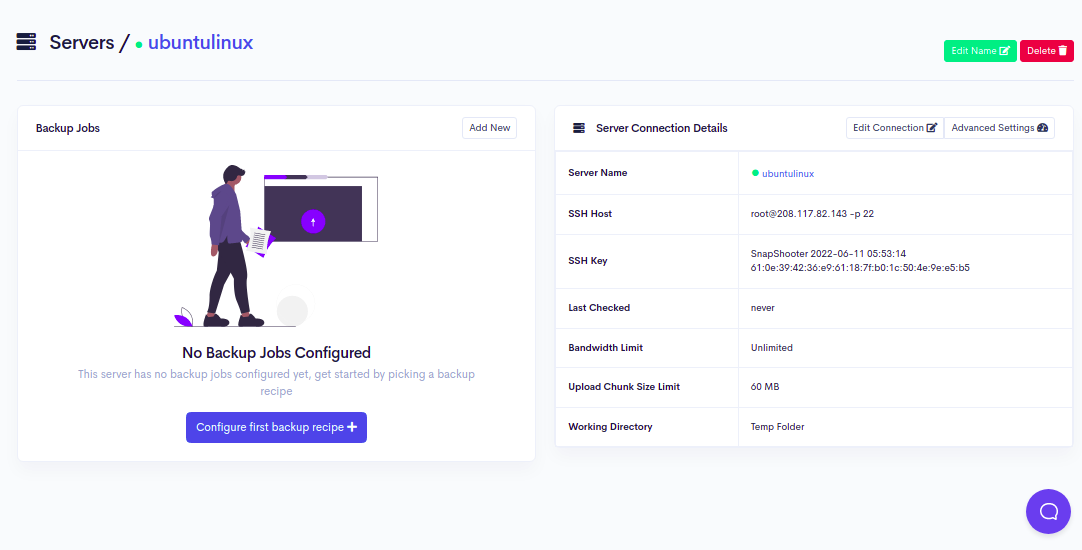
Welcome to SnapShooter Server SetupEnvironment Detected: OS: linux, OS Type: amd64Installing SSH public keyCreating temp SSH key filegrep: /root/.ssh/authorized_keys: No such file or directorycp: cannot stat '/root/.ssh/authorized_keys': No such file or directoryCreating authorized_keys backup /root/.ssh/authorized_keys.bak-1653474994Key Installed /root/.ssh/authorized_keysRemoving temp SSH key fileScanning SSH configChecking 22matched (22)SSH test confirmed, Server Added to SnapShooter ...Step 5 - Go back to your web browser, you should see your added server on the following screen:
Attache Both DigitalOcean Spaces and BackBlaze Bucket to Snapshooter
Next, you will need to attach both the DigitalOcean Spaces and BackBlaze bucket to the SnapShooter.
Click here to attach the DigitalOcean Spaces to the SnapShooter You should see the following screen:

Choose a Friendly Name, Select DigitalOcean Spaces, select region, type your access key and secret access key, type your DigitalOcean Spaces name, and press the Attach External Storage button.
Again click here to attach the BackBlaze bucket to the SnapShooter You should see the following screen:
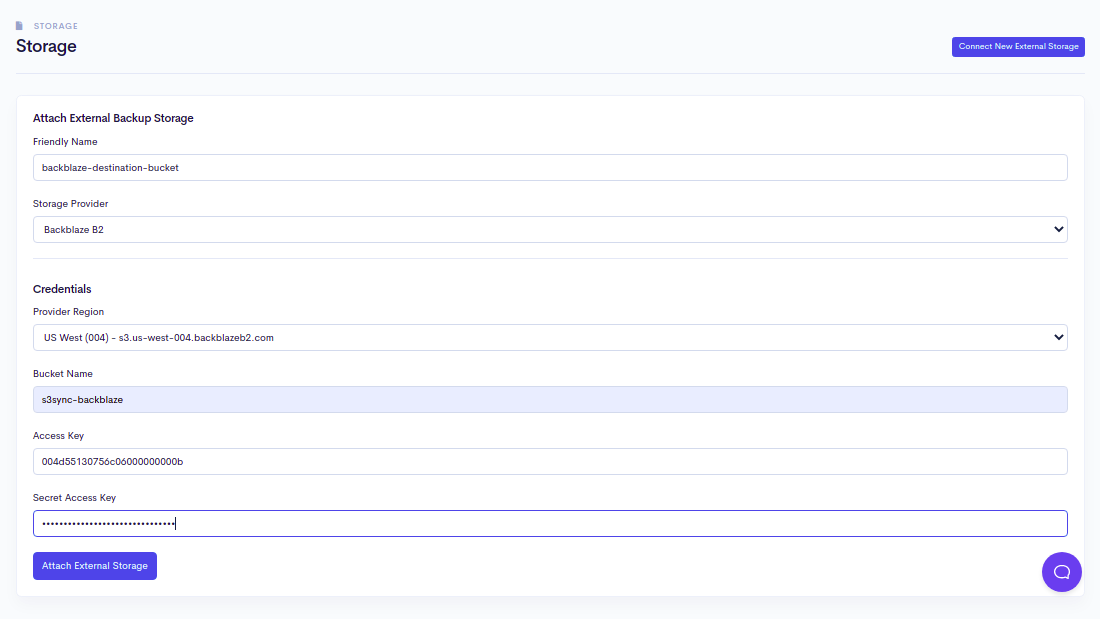
Choose a Friendly Name, Select BackBlaze Bucket, select region, type your access key and secret access key, type your BackBlaze Bucket name, and press the Attach External Storage button.
Create a Backup Job to Copy the Content of DigitalOcean Spaces to BackBlaze Bucket
Now, you will need to create a backup job to copy data from DigitalOcean Spaces to BackBlaze Bucket at specific intervals of time. Follow the below steps to create a backup job:
Step 1 - On the SnapShooter dashboard, click on the Backup Jobs in the left pane. You should see the following screen:

Step 2 - Click on the Create Backup Jobs. You should see the following screen:

Step 3 - Click on the S3 Sync, you should see the following screen:
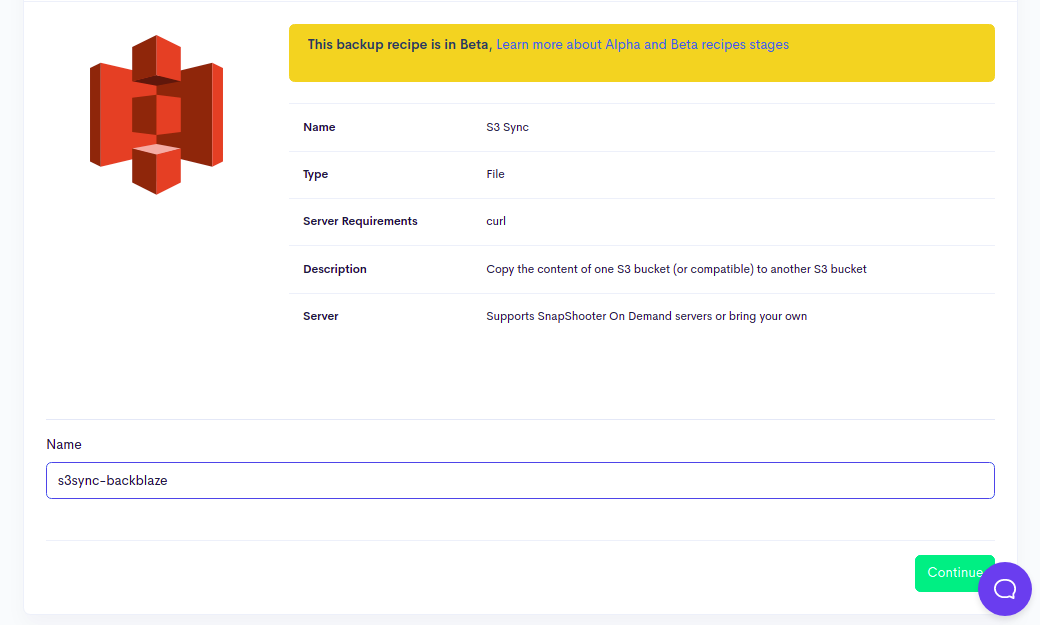
Step 4 - Provide your backup job name and click on the Continue button. You should see the following screen:

Step 5 - Select your server and click on the Next button. You should see the following screen:
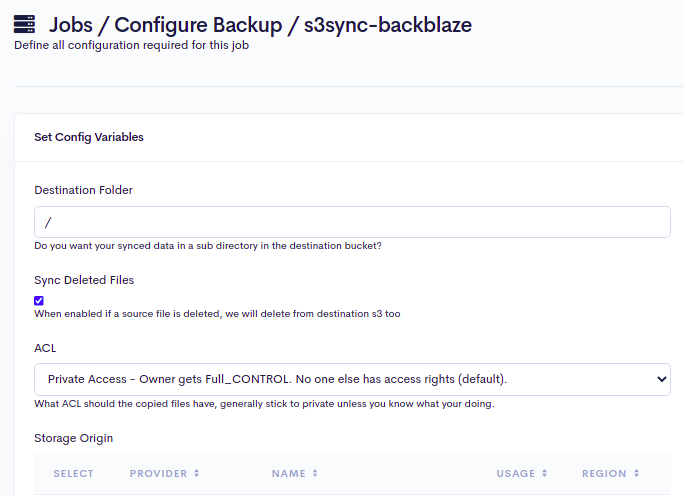
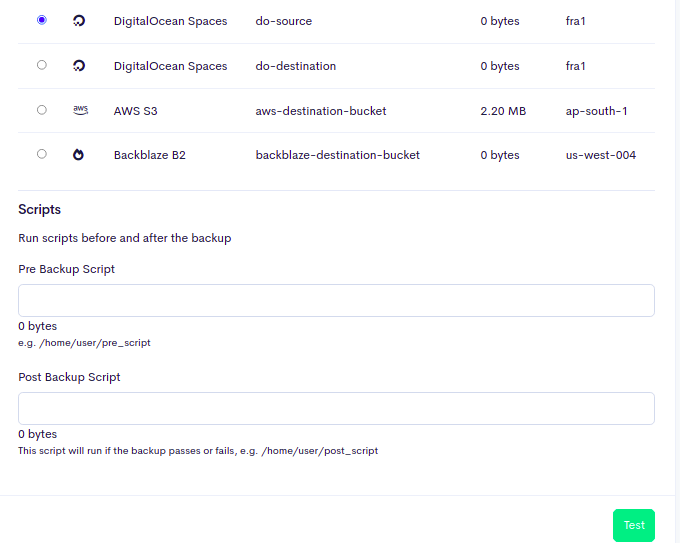
Step 6 - Define the directory path in the destination bucket, select your source DigitalOcean Spaces and click on the Test button. You should see the following screen:
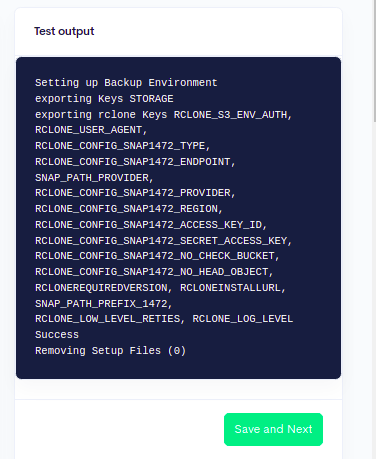
Step 7 - Click on the Save and Next button. You should see the following screen:

Step 8 - Select your destination BackBlaze bucket and click on the Set Storage button. You should see the following screen:

Step 9 - Define your backup schedule and click on the Set Schedule and Finish button. You should see the following screen:
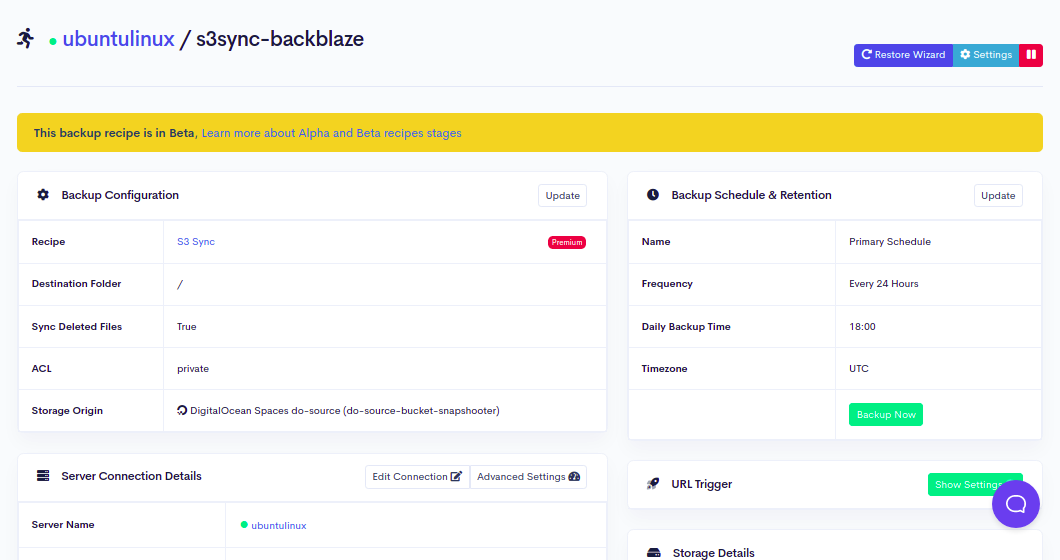
Step 10 - Click on the Backup Now button to start copying data from DigitalOcean Spaces to the BackBlaze bucket. Once the backup process is completed successfully, you should see the following screen:
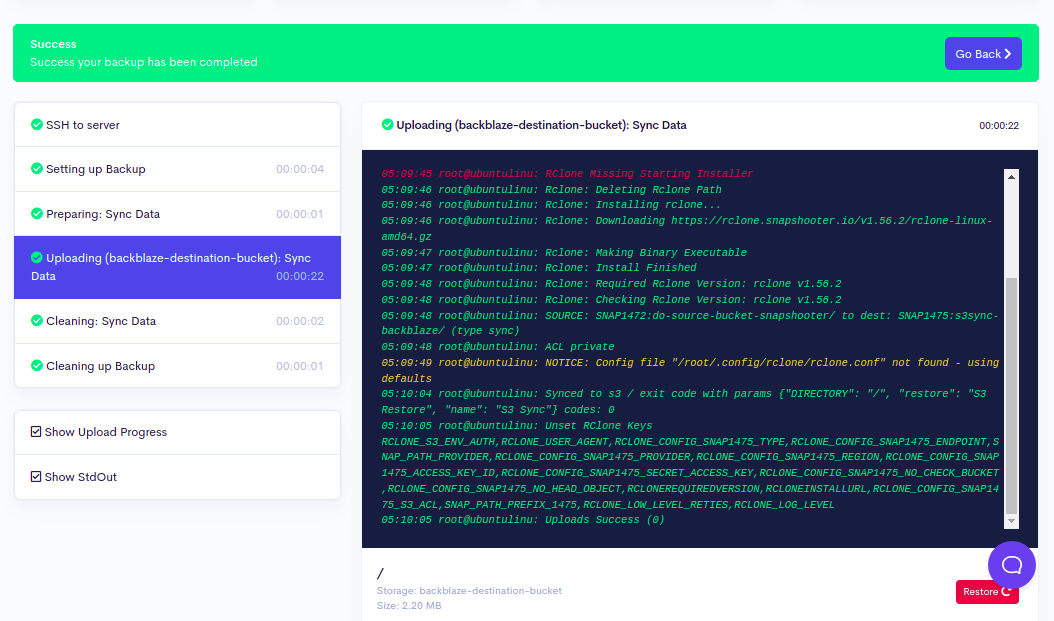
You can also verify your backup by accessing the BackBlaze Bucket. You should see all your data on the following screen:

Conclusion
In this guide, you learned how to copy and sync data from DigitalOcean Spaces to the BackBlaze bucket. You can now manage and control all your backup and restore jobs using the SnapShooter web interface.
SnapShooter support many S3 providers on the marketplace, including AWS S3, DigitalOcean Spaces, Backblaze, Upcloud, Scaleway, Minio, and custom endpoints. If you have object storage missing let us know we are happy to add any. We believe everyone should keep a copy of their data offsite and secure.
Thank you for helping us improve!
