
Copy Data from One AWS S3 Bucket to Another AWS S3 Bucket
Table Of Contents
- Introduction
- Create an S3 Bucket in AWS
- Create a New IAM User
- Add a Server to Snapshooter
- Attache Both AWS S3 Bucket to Snapshooter
- Create a Backup Job to Copy the Content of One AWS S3 Bucket to Another S3 Bucket
- Conclusion
Introduction
Amazon S3 is a cloud-based object storage service provided by Amazon Web Services that provides object storage through a web service interface and API. It allows you to store any amount of data at any time.
SnapShooter offers an S3 Sync tool that allows you to copy, move or sync the data from one S3 bucket to another S3 bucket, a second location, region, or even provider. That means S3 Sync allows you to sync, duplicate and backups of S3-compatible data, or set up a schedule to keep 2 services in sync.
Manually copying data from one S3 bucket to another bucket is a tough task. You will need to download the data to your local machine and re-uploading it to another S3 bucket. That's a bit of a pain. In this case, you can use SnapShooter's S3 Sync service to sync data between services, allowing you to keep different buckets updated on a schedule.
In this guide, we will show you how to copy data from one AWS S3 bucket to another S3 bucket using SnapShooter.
Create an S3 Bucket in AWS
First, you will need to create a second S3 bucket in AWS to store the data copied from an existing S3 bucket. Follow the below steps to create a bucket on AWS S3:
Step 1 - Login to Amazon Management Console, search for S3 and open the S3 service as shown below.
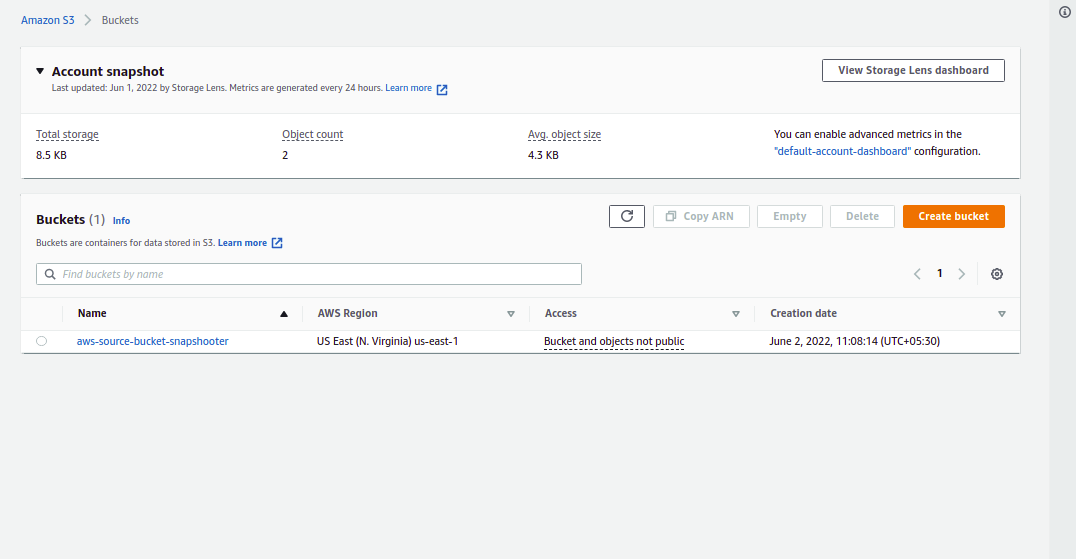
Step 2 - Click on the Create bucket button. You should see the General configuration screen:

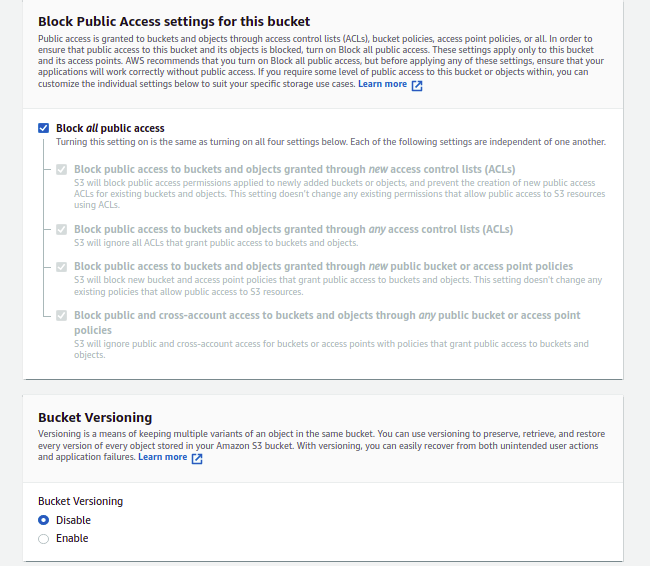
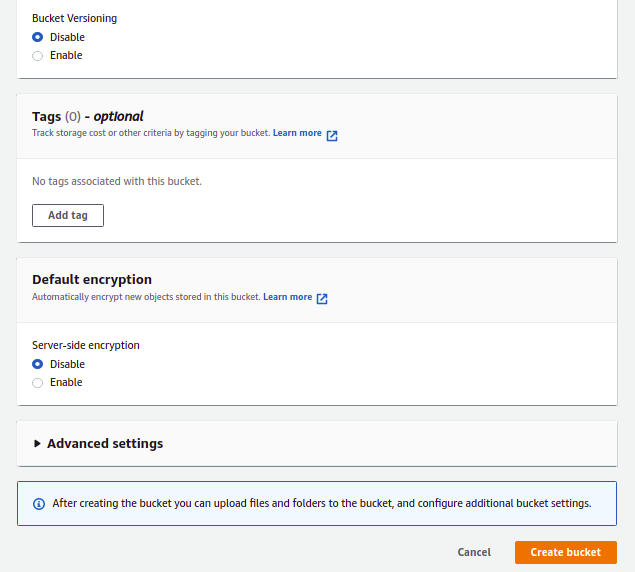
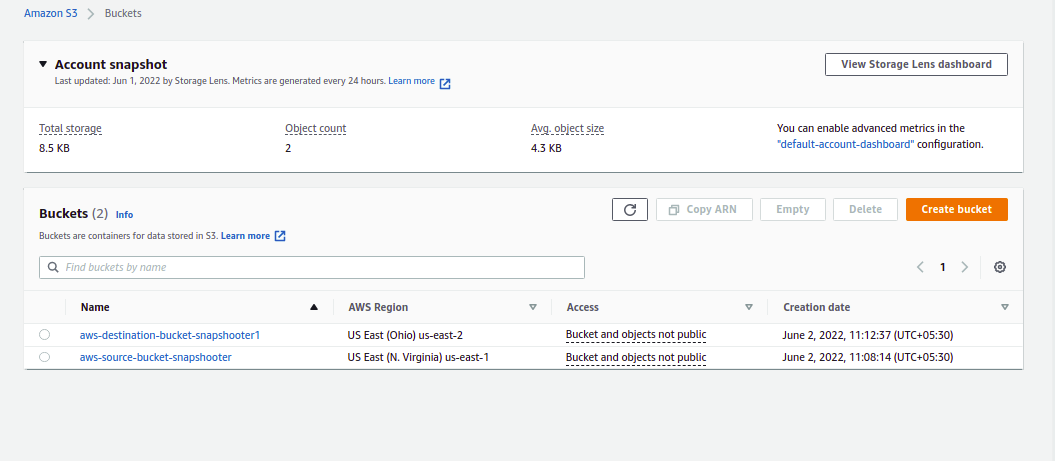
Step 3 - Type your bucket name, select your region, select object ownership, block all public access, and click on the Create bucket button. Once the bucket is created, you should see the following screen:
Create a New IAM User
After creating an S3 bucket, you must create a new IAM user and assign permission to access both S3 buckets. Follow the below steps to create an IAM user:
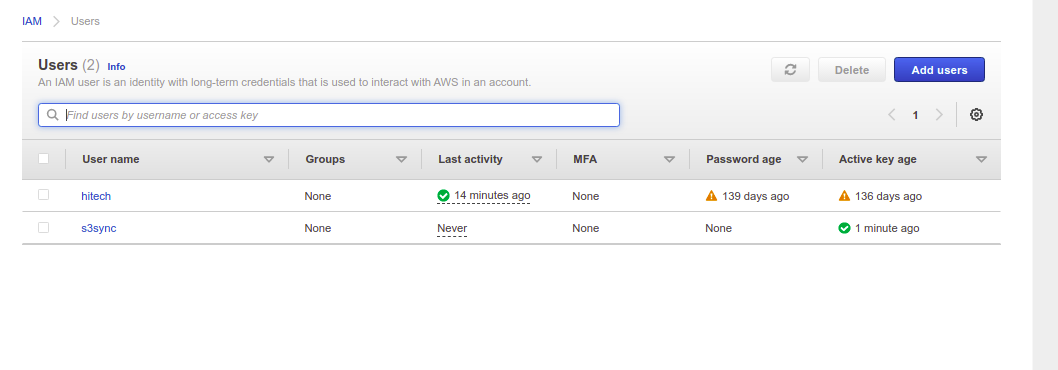
Step 1 - Log in to AWS Management Console, search for IAM from the top services menu, and click on Users in the left sidebar. You should see the IAM user screen:

Step 2 - Click on the Add users button to add a new IAM user. You should see the following screen:
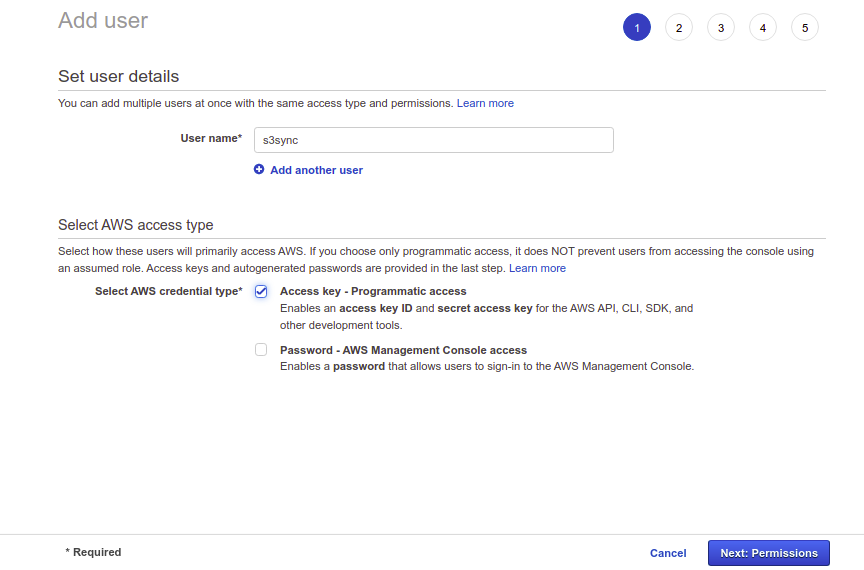
Step 3 - Type your username, select "Access Type Programmatic access", then click on the Next: Permissions:
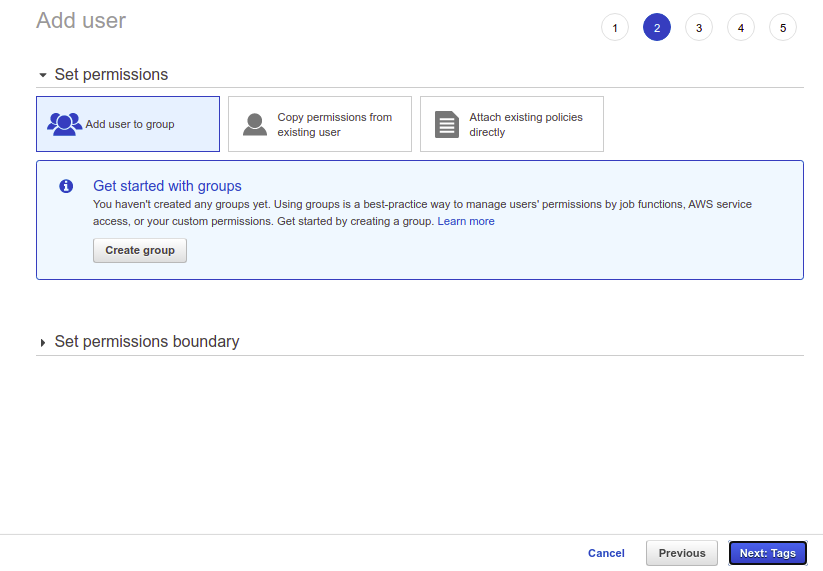
Step 4 - Leave all default options and click on the Next: Tags:
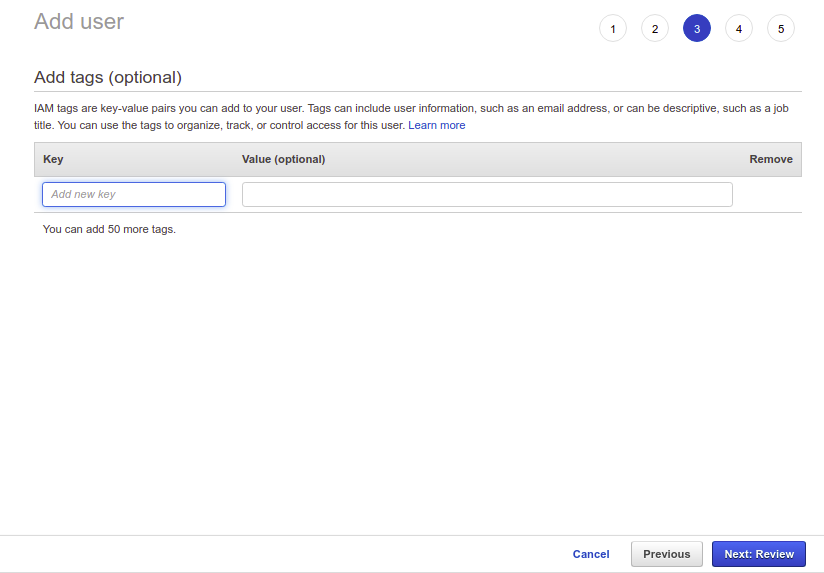
Step 5 - Leave all default options and click on the Next: Review:
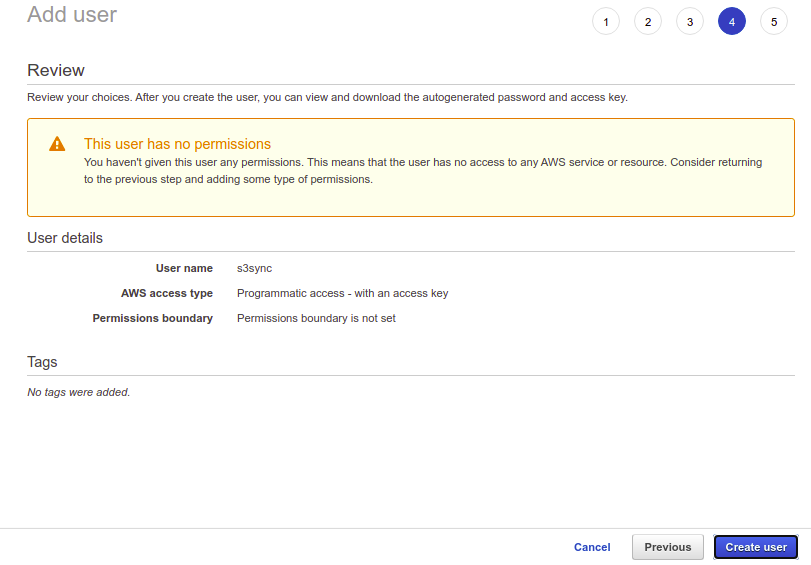
Step 6 - Review your configuration and click on the Create user button. You should see the AWS access key ID and secret access key on the following screen:
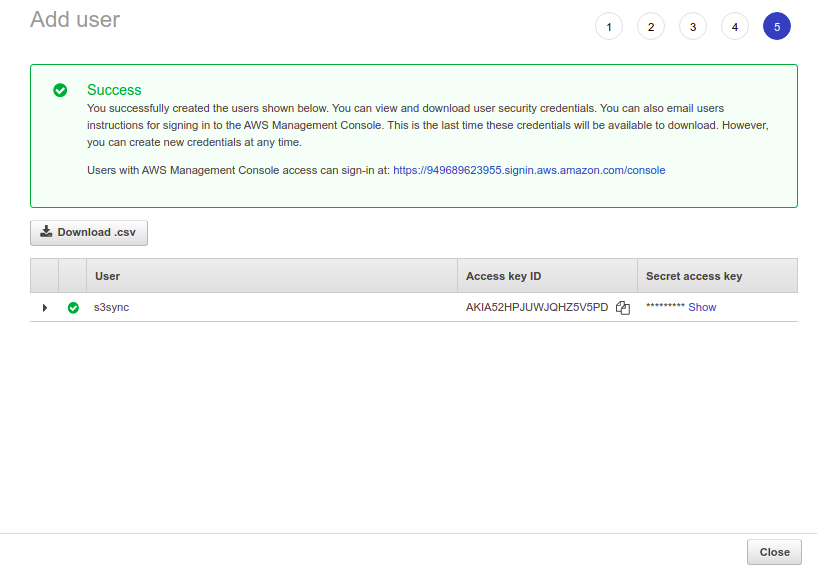
Step 7 - Note down the Access key ID and Secret access key in a safe location. You will need both keys to attach the AWS S3 to SnapShooter. Now, click on the Close button. You should see the following screen:
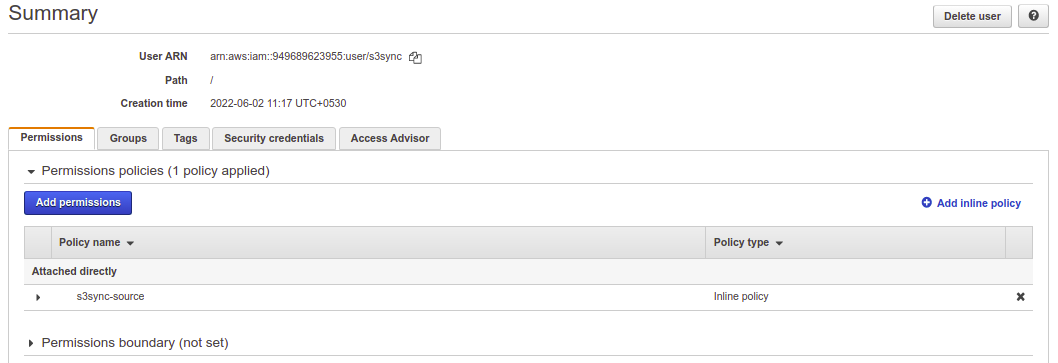
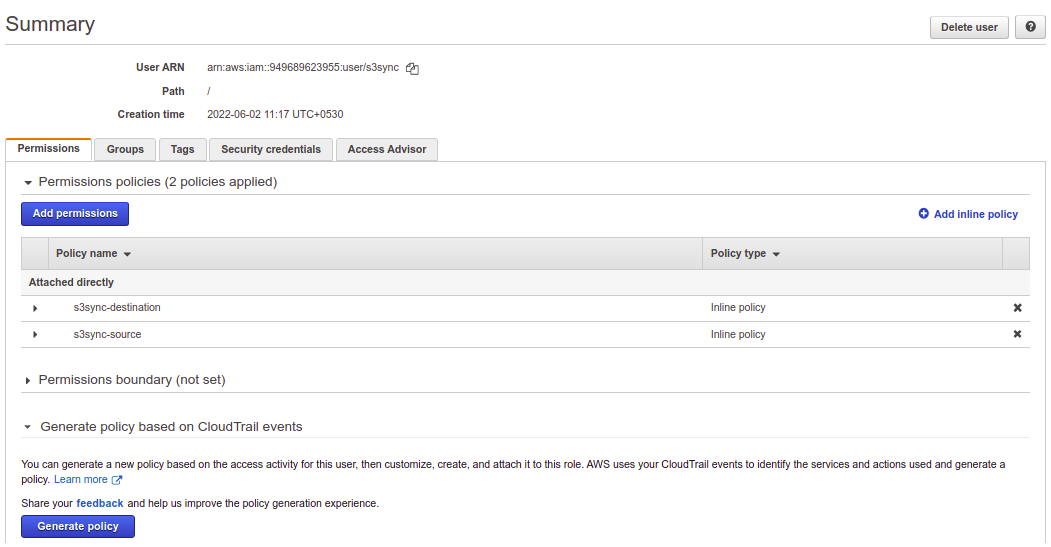
Step 8 - Click on your newly created user. You should see the following screen:

Step 9 - Now, you will need to create a policy for both S3 buckets. Click on Add inline policy. You should see the Create Policy screen:

Step 10 - Choose JSON Editor and add the following contents to grant access permission on the first S3 bucket:
{ "Version": "2012-10-17", "Statement": [ { "Effect": "Allow", "Action": "*", "Resource": [ "arn:aws:s3:::aws-source-bucket-snapshooter/*", "arn:aws:s3:::aws-source-bucket-snapshooter" ] } ]}Step 11 - Click on the Review policy button. You should see the following screen:
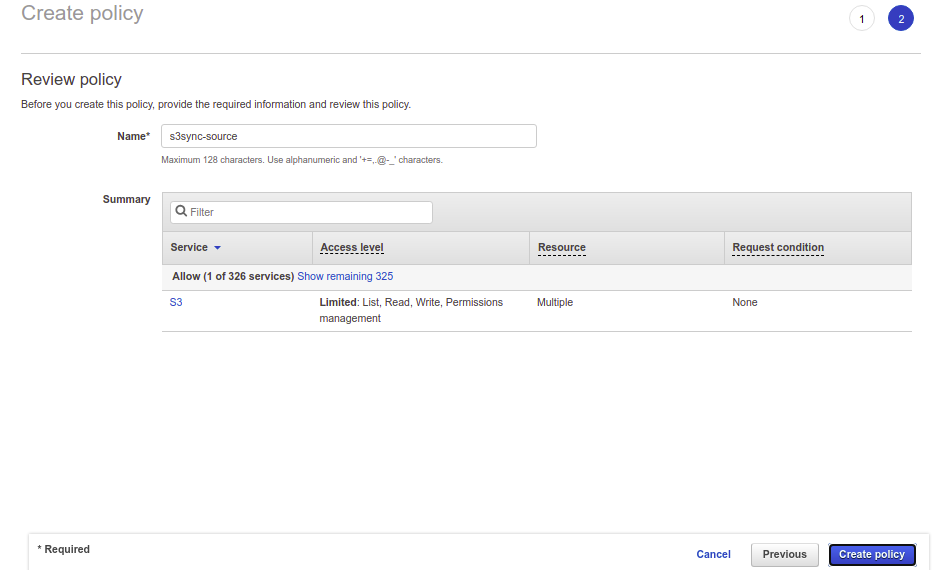
Step 12 - Provide your policy name and click on the Create policy button to save the policy.
Step 13 - Again click on the Add inline policy. You should see the Create Policy screen:

Step 14 - Choose JSON Editor and add the following contents to grant access permission on the second S3 bucket:
{ "Version": "2012-10-17", "Statement": [ { "Effect": "Allow", "Action": "*", "Resource": [ "arn:aws:s3:::aws-destination-bucket-snapshooter1/*", "arn:aws:s3:::aws-destination-bucket-snapshooter1" ] } ] }Step 15 - Click on the Review policy button. You should see the following screen:

Step 16 - Provide your policy name and click on the Create policy button to save the policy.
Add a Server to Snapshooter
You will also need to add a server to the SnapShooter for the transmission of data to happen over. Follow the below steps to add a server to Snapshooter:
Step 1 - First, go to the SnapShooter website and register for their 14-day free trial.
Step 2 - On the SnapShooter dashboard, click on the Servers in the left sidebar. You should see the following screen:
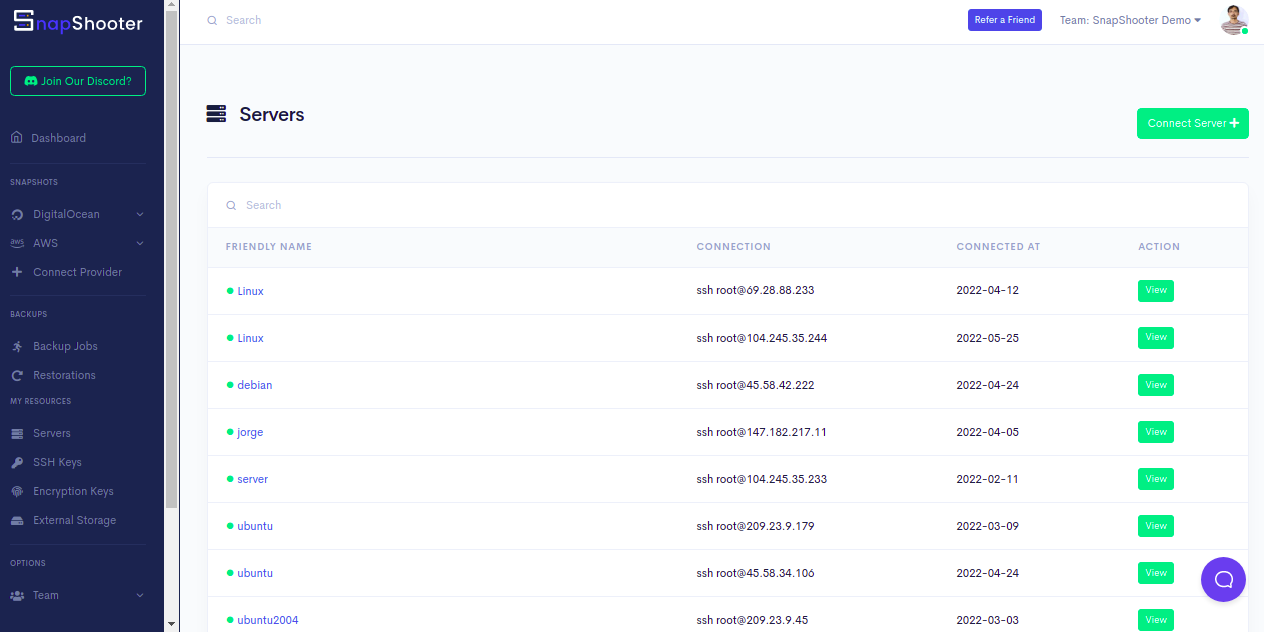
Step 3 - Click on the Connect Server. You should see the following screen:
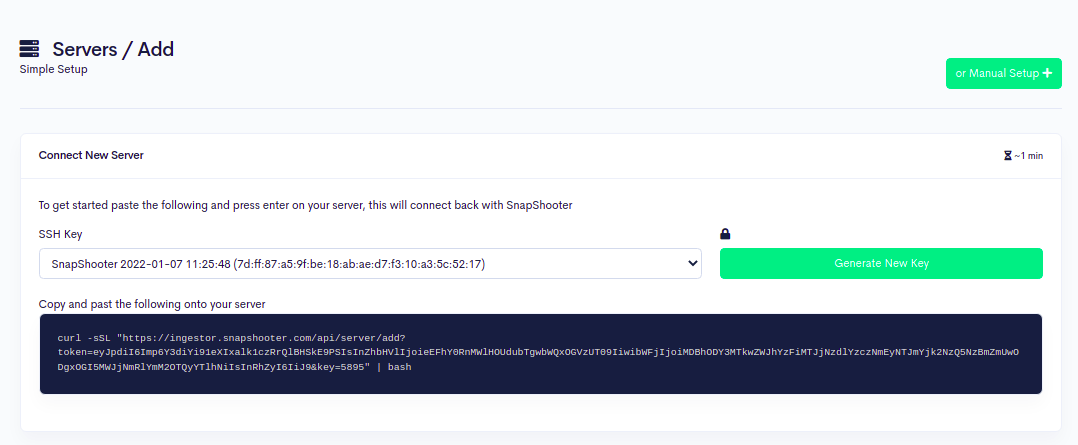
Step 4 - Copy and paste the code shown in the above image to your server:
curl -sSL "https://ingestor.snapshooter.com/api/server/add?token=eyJpdiI6Imp6Y3diYi91eXIxalk1czRrQlBHSkE9PSIsInZhbHVlIjoieEFhY0RnMWlHOUdubTgwbWQxOGVzUT09IiwibWFjIjoiMDBhODY3MTkwZWJhYzFiMTJjNzdlYzczNmEyNTJmYjk2NzQ5NzBmZmUwODgxOGI5MWJjNmRlYmM2OTQyYTlhNiIsInRhZyI6IiJ9&key=5895" | bashOnce your server is connected to the Snapshooter, you will get the following output:
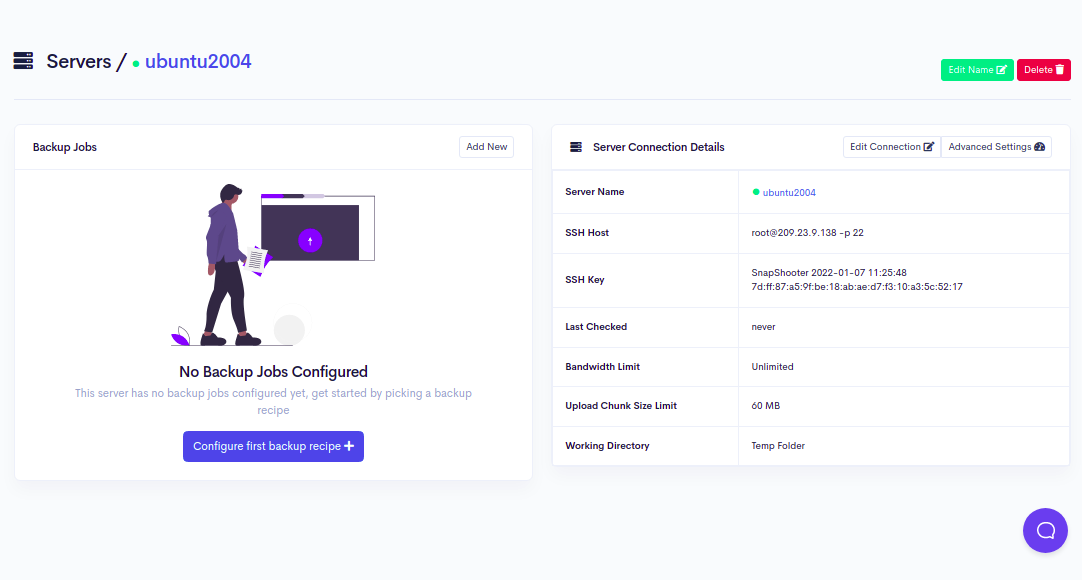
Welcome to SnapShooter Server SetupEnvironment Detected: OS: linux, OS Type: amd64Installing SSH public keyCreating temp SSH key filegrep: /root/.ssh/authorized_keys: No such file or directorycp: cannot stat '/root/.ssh/authorized_keys': No such file or directoryCreating authorized_keys backup /root/.ssh/authorized_keys.bak-1653474994Key Installed /root/.ssh/authorized_keysRemoving temp SSH key fileScanning SSH configChecking 22matched (22)SSH test confirmed, Server Added to SnapShooter ...Step 5 - Go back to your web browser, you should see your added server on the following screen:
Attache Both AWS S3 Bucket to Snapshooter
Next, you will need to attach both source and destination S3 bucket to the SnapShooter.
First, click here to attach the source S3 bucket to the SnapShooter You should see the following screen:
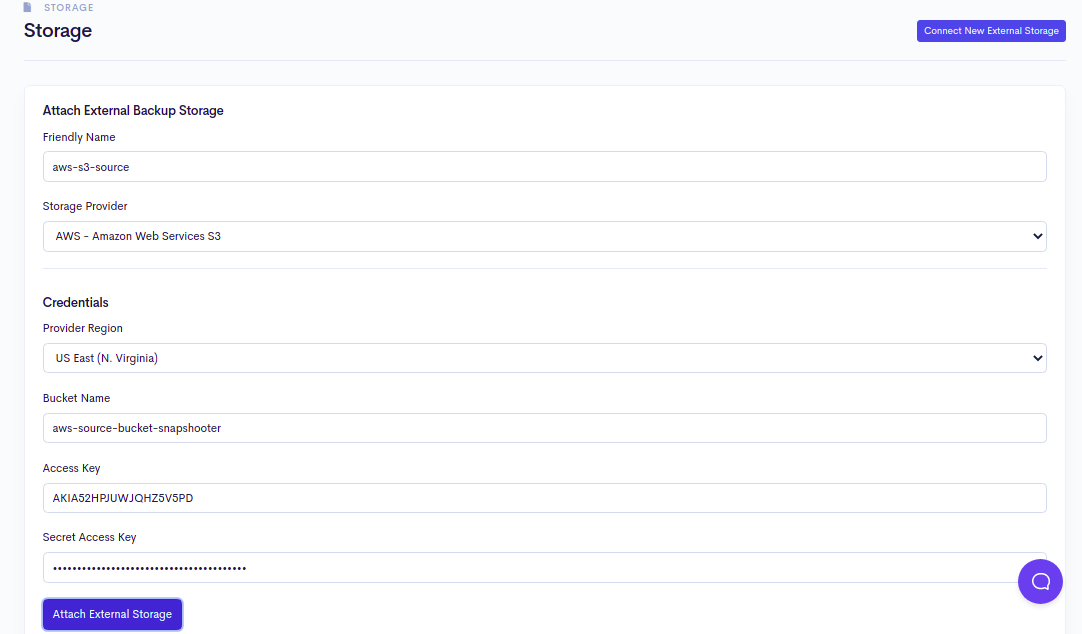
Choose a Friendly Name, Select AWS S3, select region, type your access key and secret access key, type the source bucket name and press the Attach External Storage button.
Again click here to attach the destination S3 bucket to the SnapShooter You should see the following screen:

Choose a Friendly Name, Select AWS S3, select region, type your access key and secret access key, type the destination bucket name and press the Attach External Storage button.
Create a Backup Job to Copy the Content of One AWS S3 Bucket to Another S3 Bucket
Now, you will need to create a backup job to copy data from one AWS S3 bucket to another AWS S3 bucket at a specific interval of time. Follow the below steps to create a backup job:
Step 1 - On the SnapShooter dashboard, click on the Backup Jobs in the left pane. You should see the following screen:

Step 2 - Click on the Create New Job. You should see the following screen:
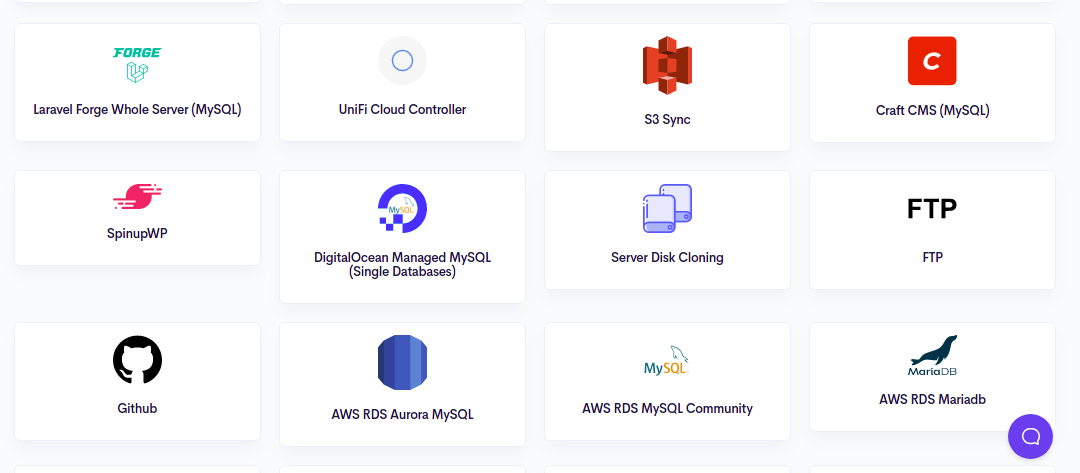
Step 3 - Click on the S3 Sync. You should see the following screen:
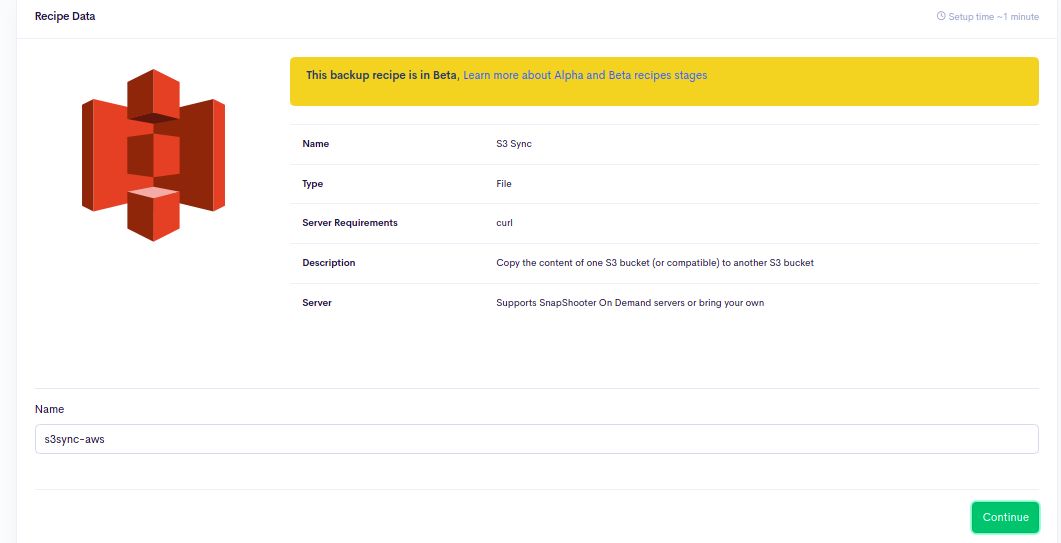
Step 4 - Provide your backup job name and click on the Continue button. You should see the following screen:
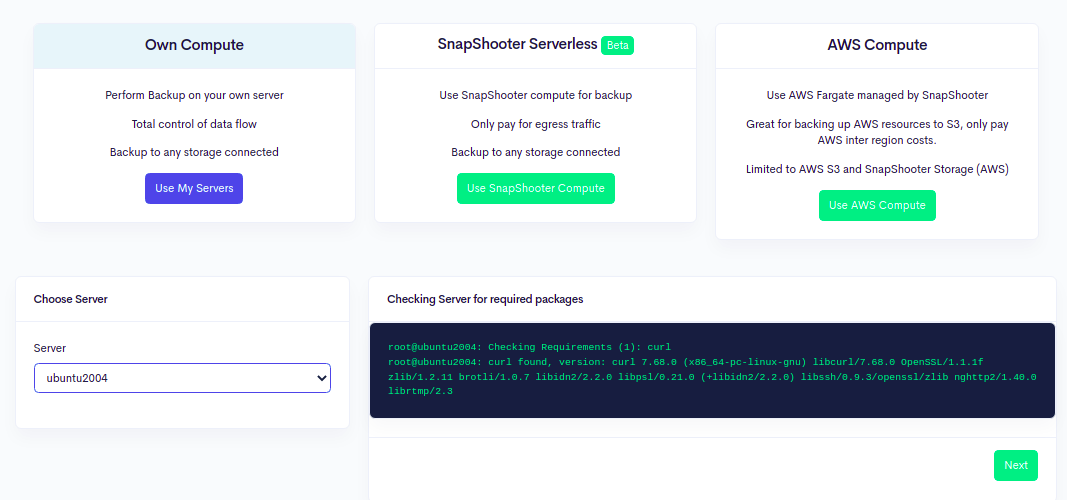
Step 5 - Select your server and click on the Next button. You should see the following screen:
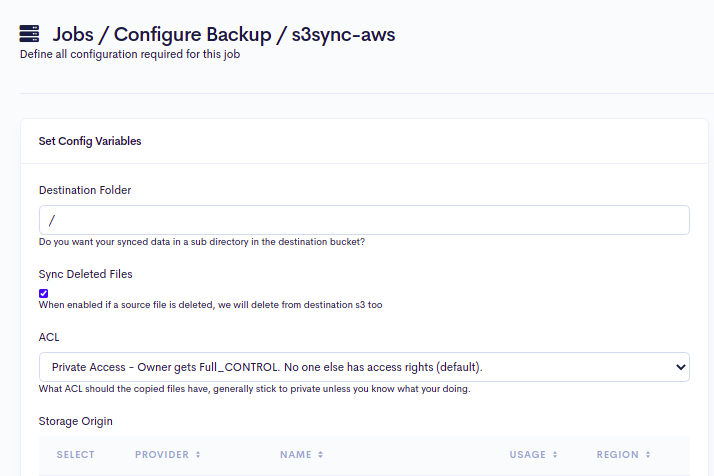

Step 6 - Define the directory path in the destination bucket, select your source S3 bucket and click on the Test button. You should see the following screen:
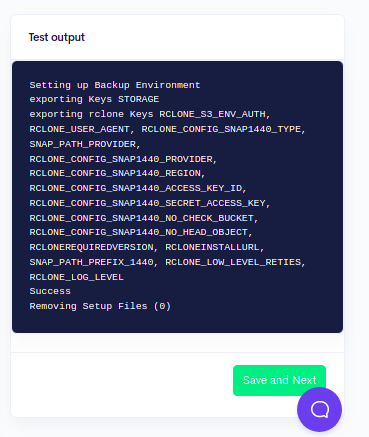
Step 7 - Click on the Save and Next button. You should see the following screen:
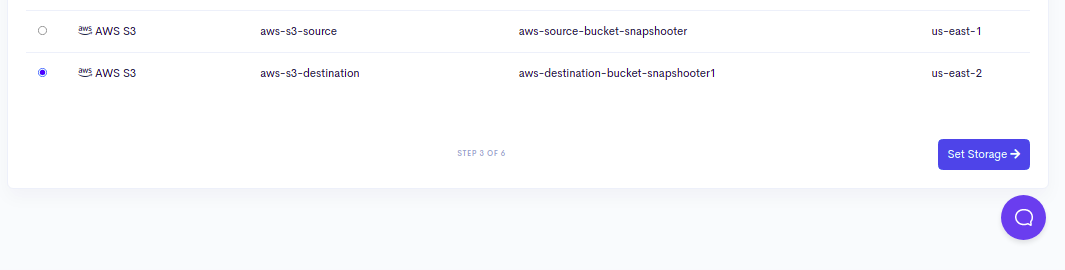
Step 8 - Select your destination S3 bucket and click on the Set Storage button. You should see the following screen:

Step 9 - Define your backup schedule and click on the Set Schedule and Finish button. You should see the following screen:

Step 10 - Click on the Backup Now button to start copying data from one S3 bucket to another S3 bucket. Once the backup process is completed successfully, you should see the following screen:

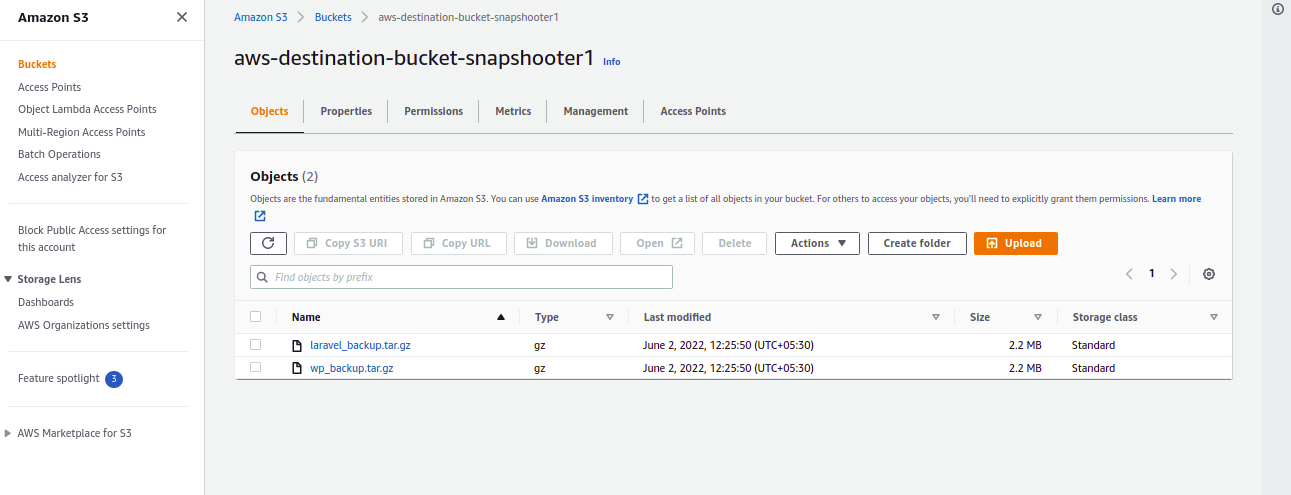
You can also verify your S3 bucket data by accessing the second S3 bucket. You should see all data on the following screen:
Conclusion
In this guide, you learned how to copy data from one AWS S3 bucket to another AWS S3 bucket using SnapShooter. If you accidentally delete a file from your source bucket. Not a problem, SnapShooter has an automatic restore function to allow you to restore files from your destination.
SnapShooter support many S3 providers on the marketplace, including AWS S3, DigitalOcean Spaces, Backblaze, Upcloud, Scaleway, Minio, and custom endpoints. If you have object storage missing let us know we are happy to add any. We believe everyone should keep a copy of their data offsite and secure.
Scheduled S3 Sync Backups SnapShooter
Copy the content of one S3 bucket (or compatible) to another S3 bucket
Learn more about S3 Sync Backups
Get started for free
Thank you for helping us improve!