
How to Backup File to SnapShooter Storage
Introduction
SnapShooter Storage provides a simple way to store your data without having to set up your own S3-based storage. SnapShooter storage is built on AWS S3 and allows you to store your data with ease. SnapShooter Storage is available in every AWS region around the world, including inside the European Union, the United Kingdom, the United States, and more.
Manually backing up files to SnapShooter Storage is a very time-consuming process. You will need to create and compress a backup every time and then upload it to external storage manually. You can't control and manage it automatically. SnapShooter provides a user-friendly and easy-to-use control panel that allows you to back up your files and directories to SnapShooter Storage easily.
This post will show you how to backup files to SnapShooter Storage.
Connect File Server to SnapShooter
Before starting, you will need to connect your SnapShooter Account to the file server where you what to backup files and directories.
First, go to the SnapShooter website and register for their 14-day free trial.
On the SnapShooter dashboard, click on the Servers in the left sidebar. You should see the following screen:
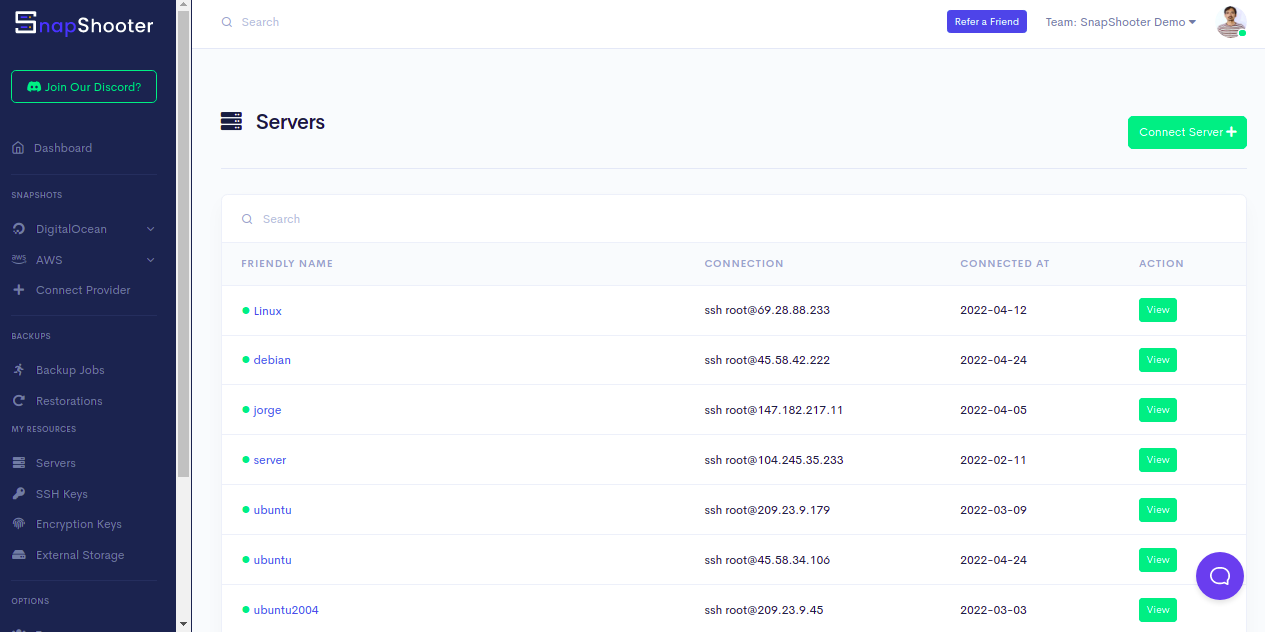
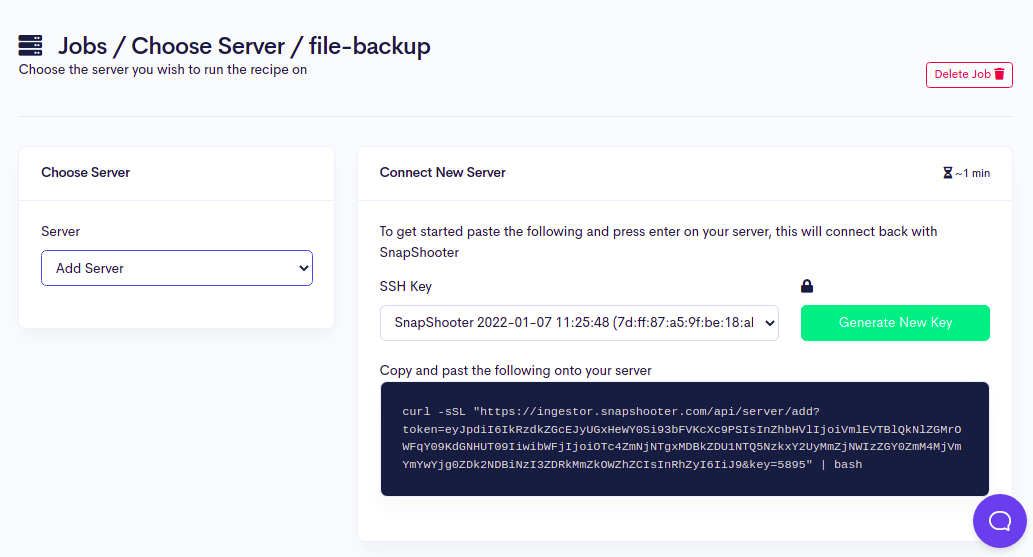
Click on the Connect Server. You should see the following screen:
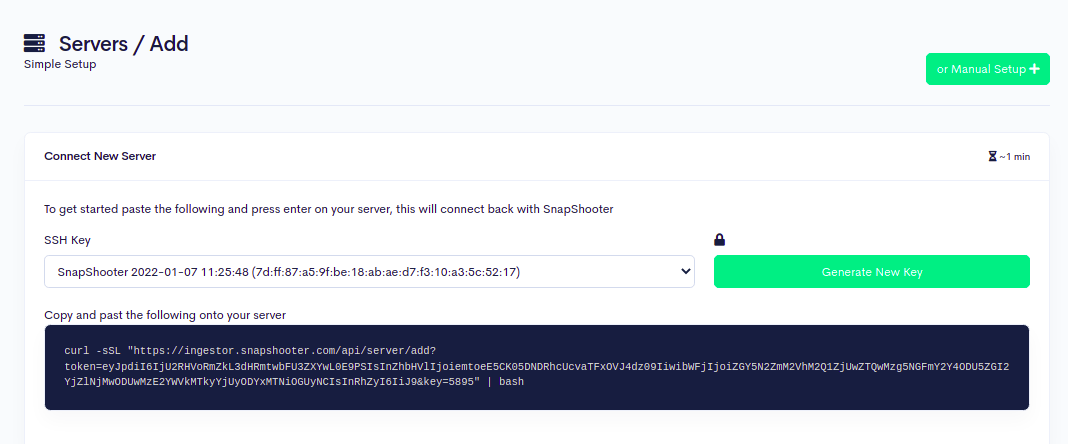
Now, copy and paste the following code shown on the above screen to your File server.
curl -sSL "https://ingestor.snapshooter.com/api/server/add?token=eyJpdiI6IjU2RHVoRmZkL3dHRmtwbFU3ZXYwL0E9PSIsInZhbHVlIjoiemtoeE5CK05DNDRhcUcvaTFxOVJ4dz09IiwibWFjIjoiZGY5N2ZmM2VhM2Q1ZjUwZTQwMzg5NGFmY2Y4ODU5ZGI2YjZlNjMwODUwMzE2YWVkMTkyYjUyODYxMTNiOGUyNCIsInRhZyI6IiJ9&key=5895" | bashOnce your file server is connected to the SnapShooter. You will get the following output:
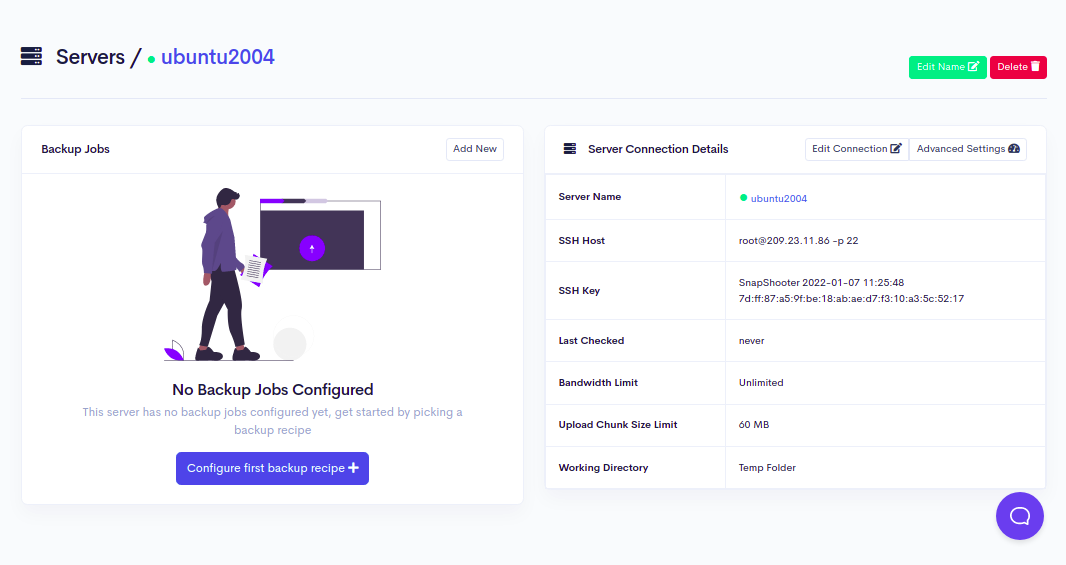
Welcome to SnapShooter Server SetupEnvironment Detected: OS: linux, OS Type: amd64Installing SSH public keyCreating temp SSH key filegrep: /root/.ssh/authorized_keys: No such file or directorycp: cannot stat '/root/.ssh/authorized_keys': No such file or directoryCreating authorized_keys backup /root/.ssh/authorized_keys.bak-1650962037Key Installed /root/.ssh/authorized_keysRemoving temp SSH key fileScanning SSH configChecking 22matched (22)SSH test confirmed, Server Added to SnapShooter ...Next, go back to your SnapShooter dashboard, you should see your added server on the following screen:
How to Backup Files to SnapShooter Storage
Next, you will need to create a backup jobs to automate file and directory backup to SnapShooter Storage.
Follow the below steps to Backup files to SnapShooter Storage:
Step 1 - On the SnapShooter dashboard, click on the Backup Jobs in the left sidebar. You should see the following screen:
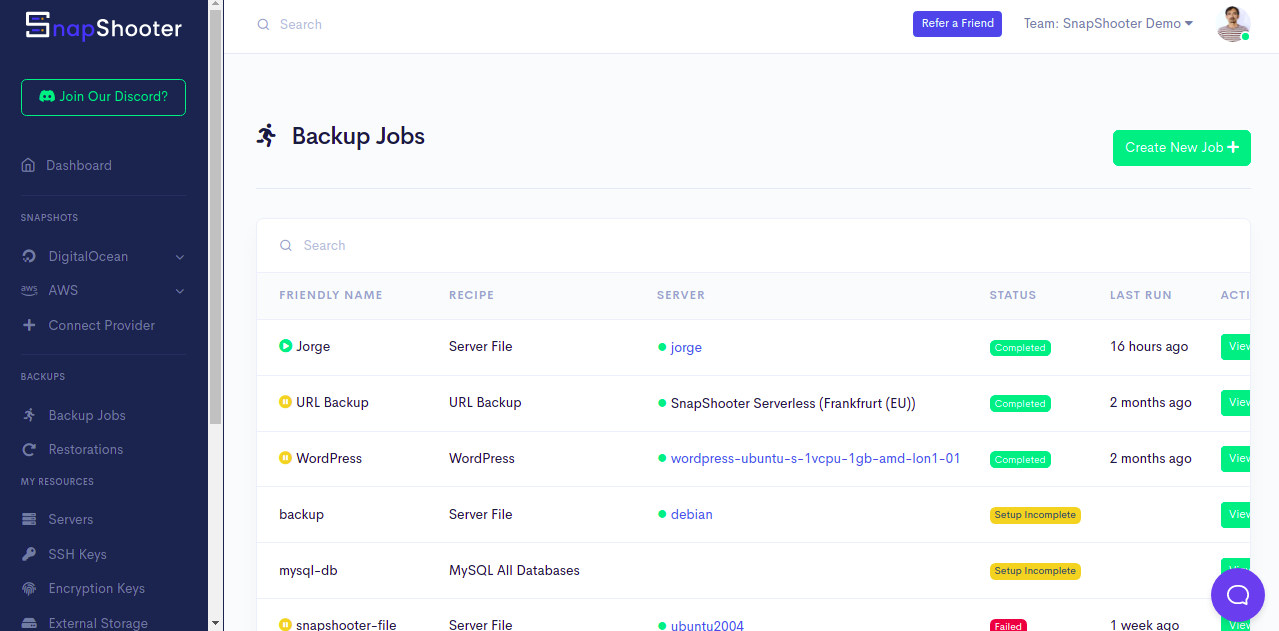
Step 2 - Click on the Create New Job. You should see various options on the following screen:

Step 3 - Click on the Server File. You should see the following screen:
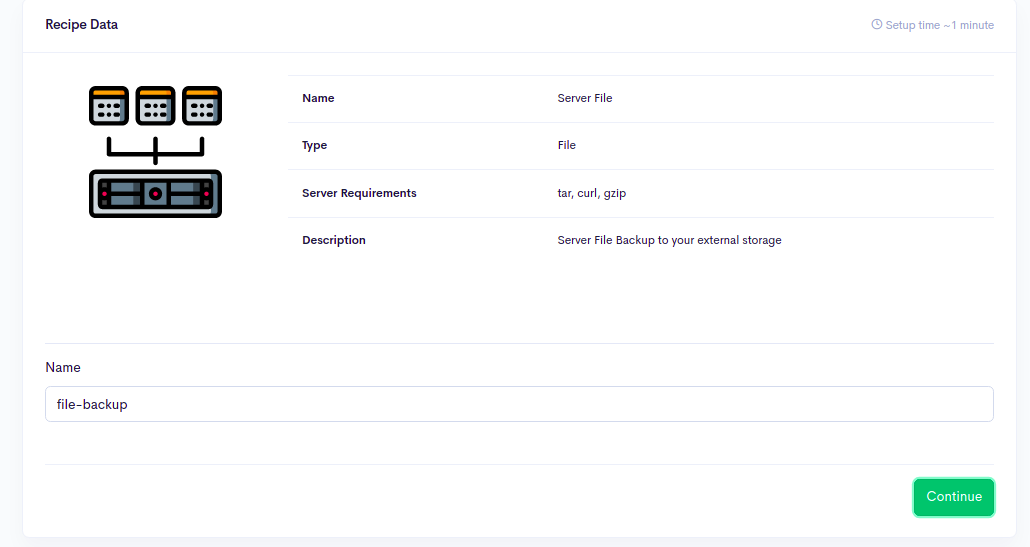
Step 4 - Define your backup name and click on the Continue button. You should see the Add Your Server screen:
Step 5 - Here, select your file server which you have added in the previous step, and click on the Next button. You should see the following screen:
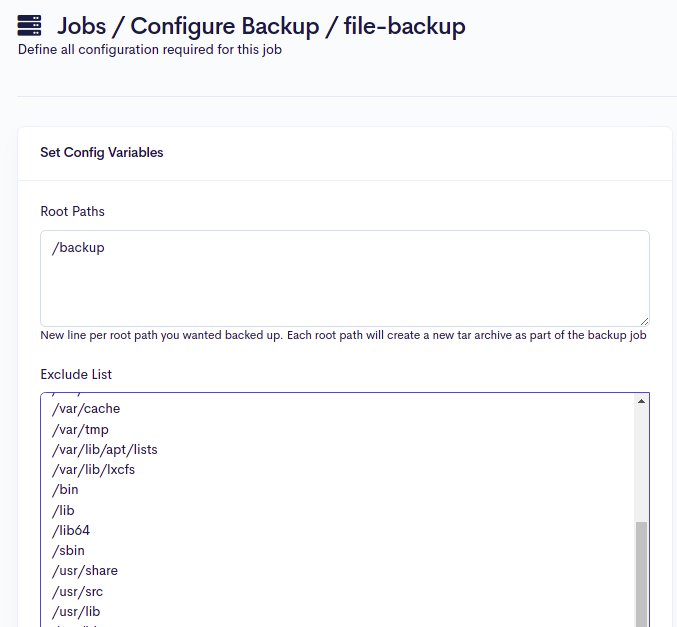
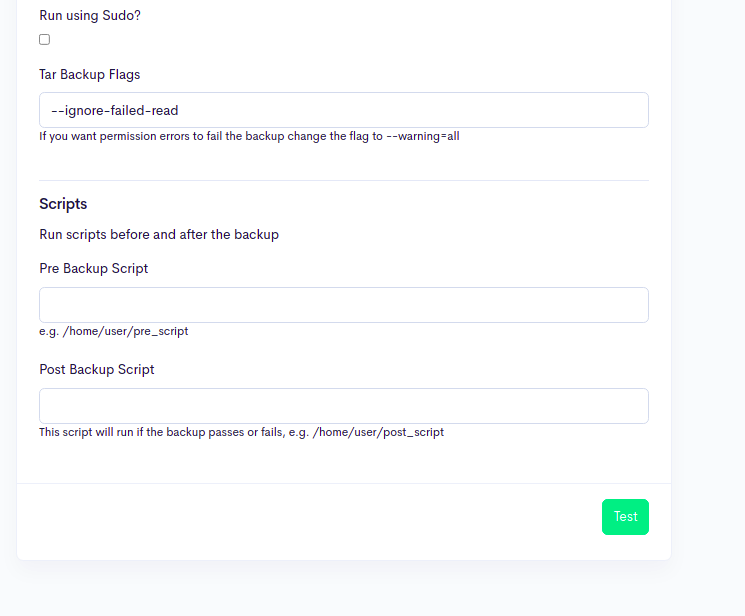
Step 6 - Provide the full path of your file and directory that you want to backup and click on the Test button to test the connection. If everything is fine, you should see the following screen:
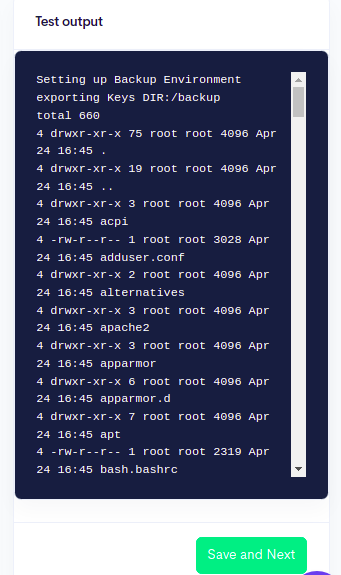
Step 7 - Click on the Save and Next button. You should see the Storage Selection screen:
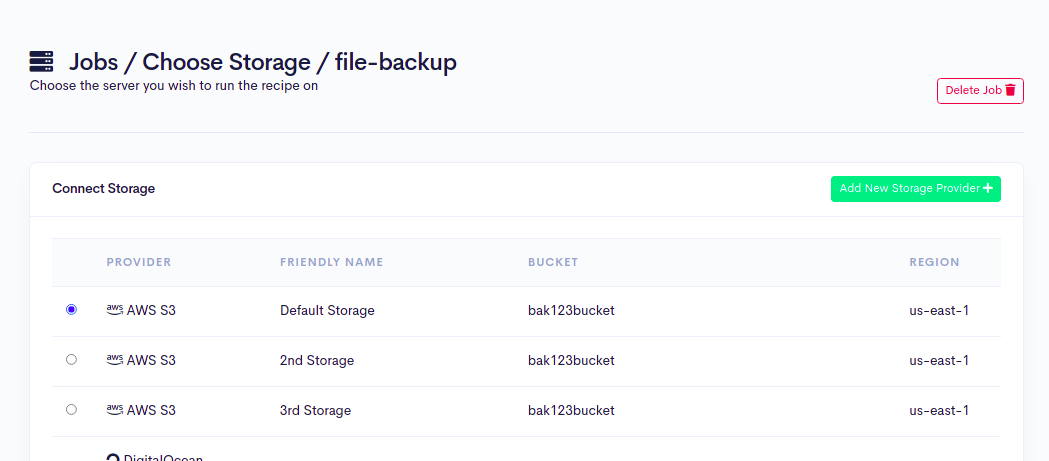
Step 8 - Here, you will need to define your SnapShooter Storage to store your files. Click on the Add New Storage Provider. You should see the following screen:
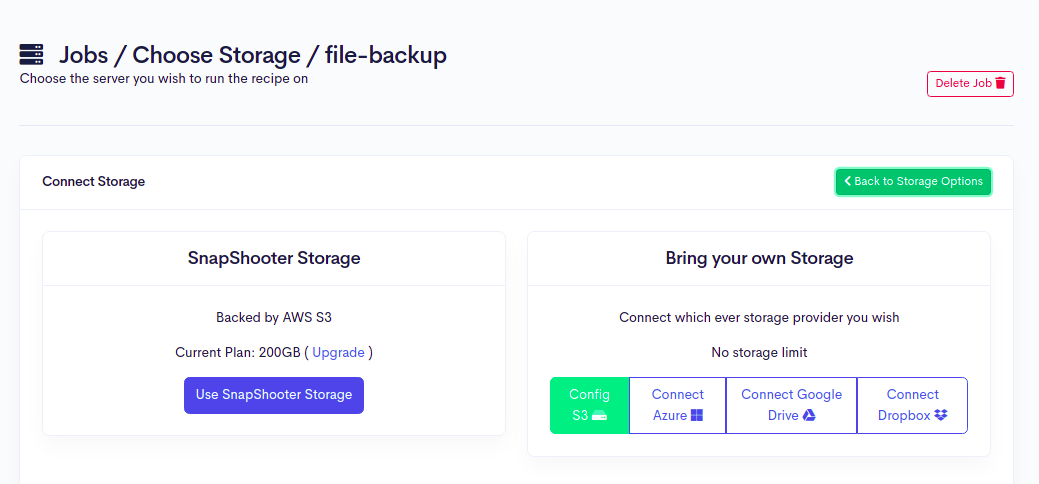
Step 9 - Click on the Use SnapShooter Storage button. You should see the following screen:
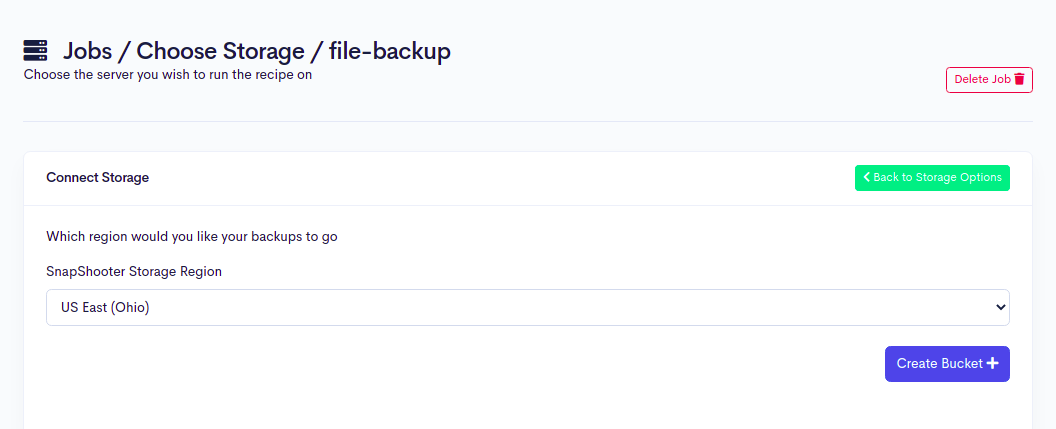
Step 10 - Select your SnapShooter Storage region and click on the Create Bucket button. You should see the job schedule screen:

Step 11 - Select your SnapShooter Storage and click on the Set Storage button. You should see the following screen:
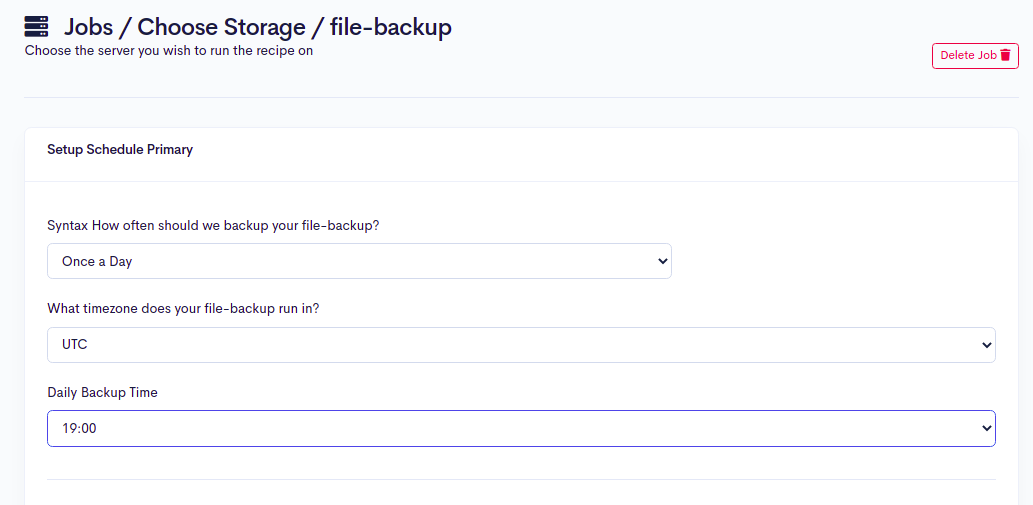
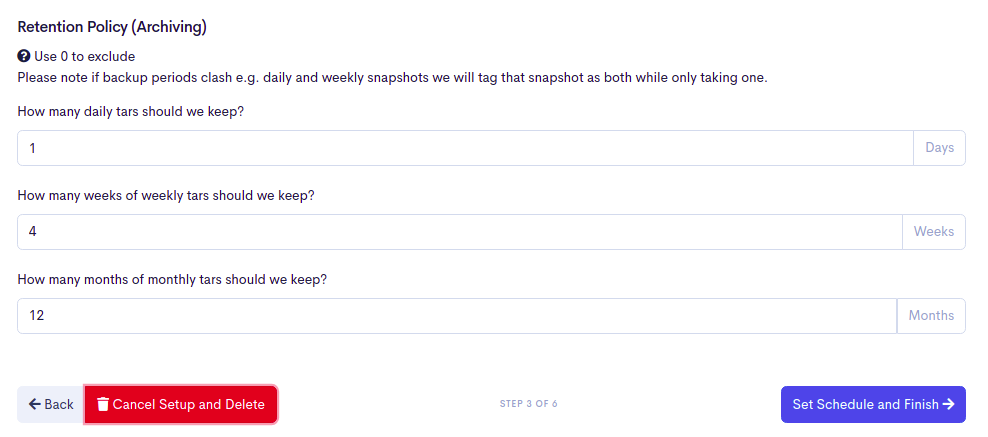
Step 12 - Here, you can select the pre-defined backup schedule and backup retention policy then click on the Set Schedule and Finish button. You should see the following screen:
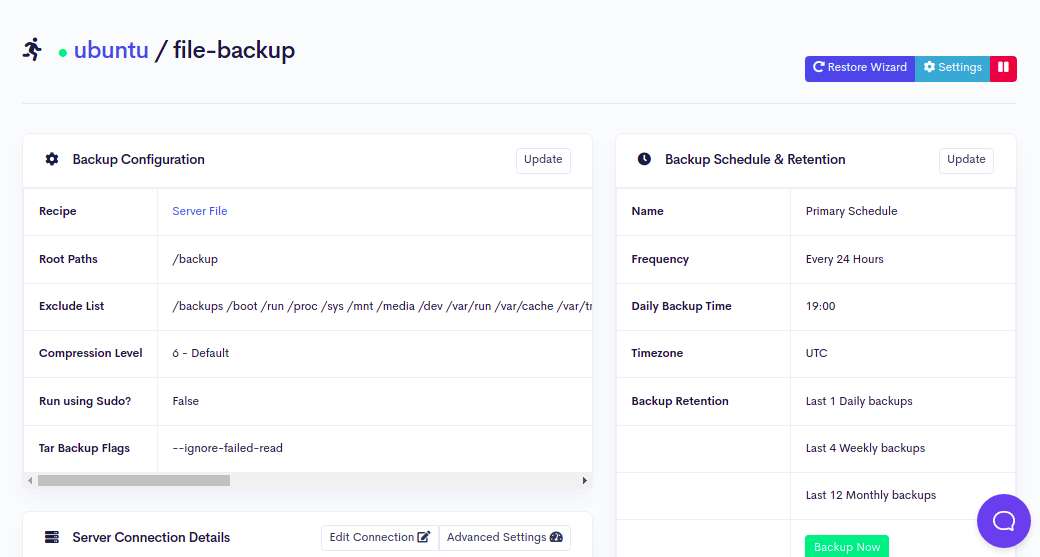
Step 13 - Click on the Backup Now button to run your first backup job. Once your backup job is executed successfully, you should see the following screen:
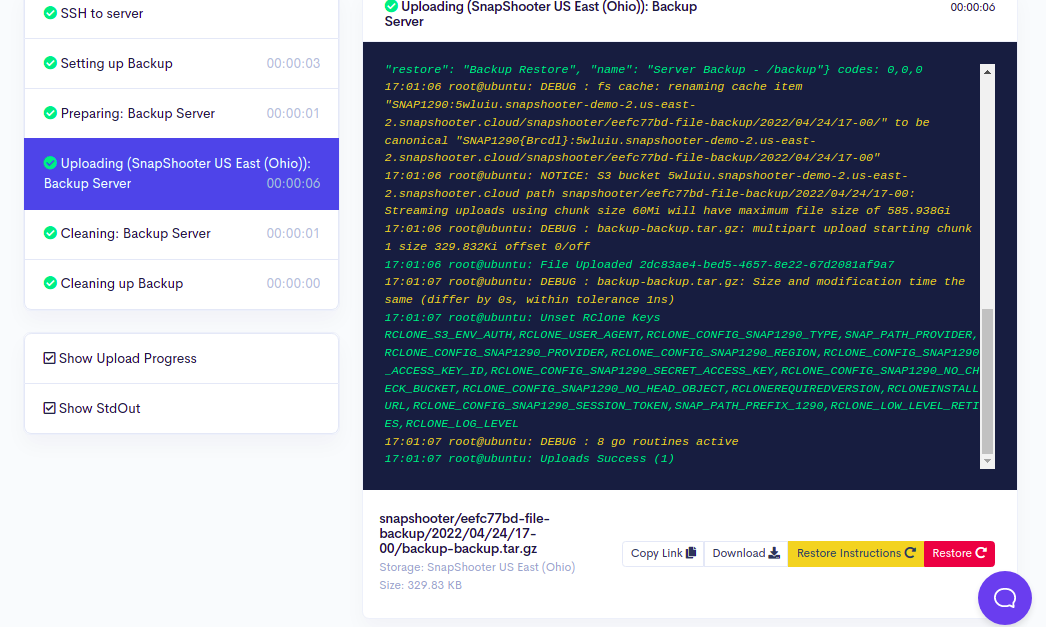
Depending on your compression level and the size of the backup, it may take time to complete. Every minute SnapShooter will go and check the process to see how far it has got. Using the Log button, you can see the latest state the backup is in.
Scheduled Server File Backups SnapShooter
Server File Backup to your external storage
Learn more about Server File Backups
Get started for free
Conclusion
In this guide, you learned how to backup files to SnapShooter Storage. I hope this post will help you to create and automate your file and directory backup.
Thank you for helping us improve!