
Running the Agent Server inside a Container
Table Of Contents
- The Dockerfile
- Preparing the Container Environment
- Bonus: Smaller container images using Alpine as the base image
We know that modern problems require modern solutions, that’s why we have made sure that our SnapShooter Agent can also be run inside Docker Containers to have better visibility and access to backup all your containerized applications.
The Dockerfile
1. We begin our Dockerfile by pulling in a base image to use in our system, as well as install the tools required for Backups:
FROM ubuntu:latest WORKDIR /opt/snapshooter # Install required packagesRUN apt-get update && apt-get install -y curl gzip tar2. Now, we need to download the SnapShooter Agent binary corresponding to our target environment. Please identify the keywords for your Operating System and Architecture, between parenthesis, found in the Supported Environment list, then you can replace the `${OS}` and `${ARCH}` with the respective keywords:
curl -sSL "https://agents.snapshooter.com/latest/agent-${OS}-${ARCH}.gz" -o agent.gzFor example, if you would like to download the binary for OpenBSD x86_64, you would use:
curl -sSL "https://agents.snapshooter.com/latest/agent-openbsd-386.gz" -o agent.gzIf you would like to download the binary for Linux ARM 64bits, you would instead use:
curl -sSL "https://agents.snapshooter.com/latest/agent-linux-arm64.gz" -o agent.gzOur example container will be based on ubuntu, and will run on a x86_64 machine, so we use the corresponding keywords:
FROM ubuntu:latest WORKDIR /opt/snapshooter # Install required packagesRUN apt-get update && apt-get install -y curl gzip tar # Download the Agent binaryRUN curl -sSL "https://agents.snapshooter.com/latest/agent-linux-amd64.gz" -o agent.gz3. The SnapShooter Agent binary is in a compressed archive, so we must not forget to decompress it and give it execution permissions:
FROM ubuntu:latest WORKDIR /opt/snapshooter # Install required packagesRUN apt-get update && apt-get install -y curl gzip tar # Download the Agent binaryRUN curl -sSL "https://agents.snapshooter.com/latest/agent-linux-amd64.gz" -o agent.gz \ && gzip -d agent.gz \ && chmod +x agent4. Finally, we must instruct our container to use the SnapShooter Agent binary as its default execution command:
FROM ubuntu:latest WORKDIR /opt/snapshooter # Install required packagesRUN apt-get update && apt-get install -y curl gzip tar # Download the Agent binaryRUN curl -sSL "https://agents.snapshooter.com/latest/agent-linux-amd64.gz" -o agent.gz \ && gzip -d agent.gz \ && chmod +x agent CMD ["/opt/snapshooter/agent"]By default, SnapShooter Agent logs messages and errors to `stdout` and `stderr` respectively. If there comes a situation where you would like to know why something may not be working as expected, you can redirect these logs into persistent files easily:
FROM ubuntu:latest WORKDIR /opt/snapshooter # Install required packagesRUN apt-get update && apt-get install -y curl gzip tar # Download the Agent binaryRUN curl -sSL "https://agents.snapshooter.com/latest/agent-linux-amd64.gz" -o agent.gz \ && gzip -d agent.gz \ && chmod +x agent # Redirect stdout and stderr to log filesRUN ln -sf /dev/stdout /var/log/stdout.log && ln -sf /dev/stderr /var/log/stderr.log CMD ["/opt/snapshooter/agent"]Preparing the Container Environment
The SnapShooter Agent needs to know how to identify against the SnapShooter Services, for this, we need to generate a SnapShooter Agent Token, which will allow our agent to authenticate and communicate with the SnapShooter Services. These tokens are long-lived, meaning you don’t need to worry about your container restarting, they will keep working.
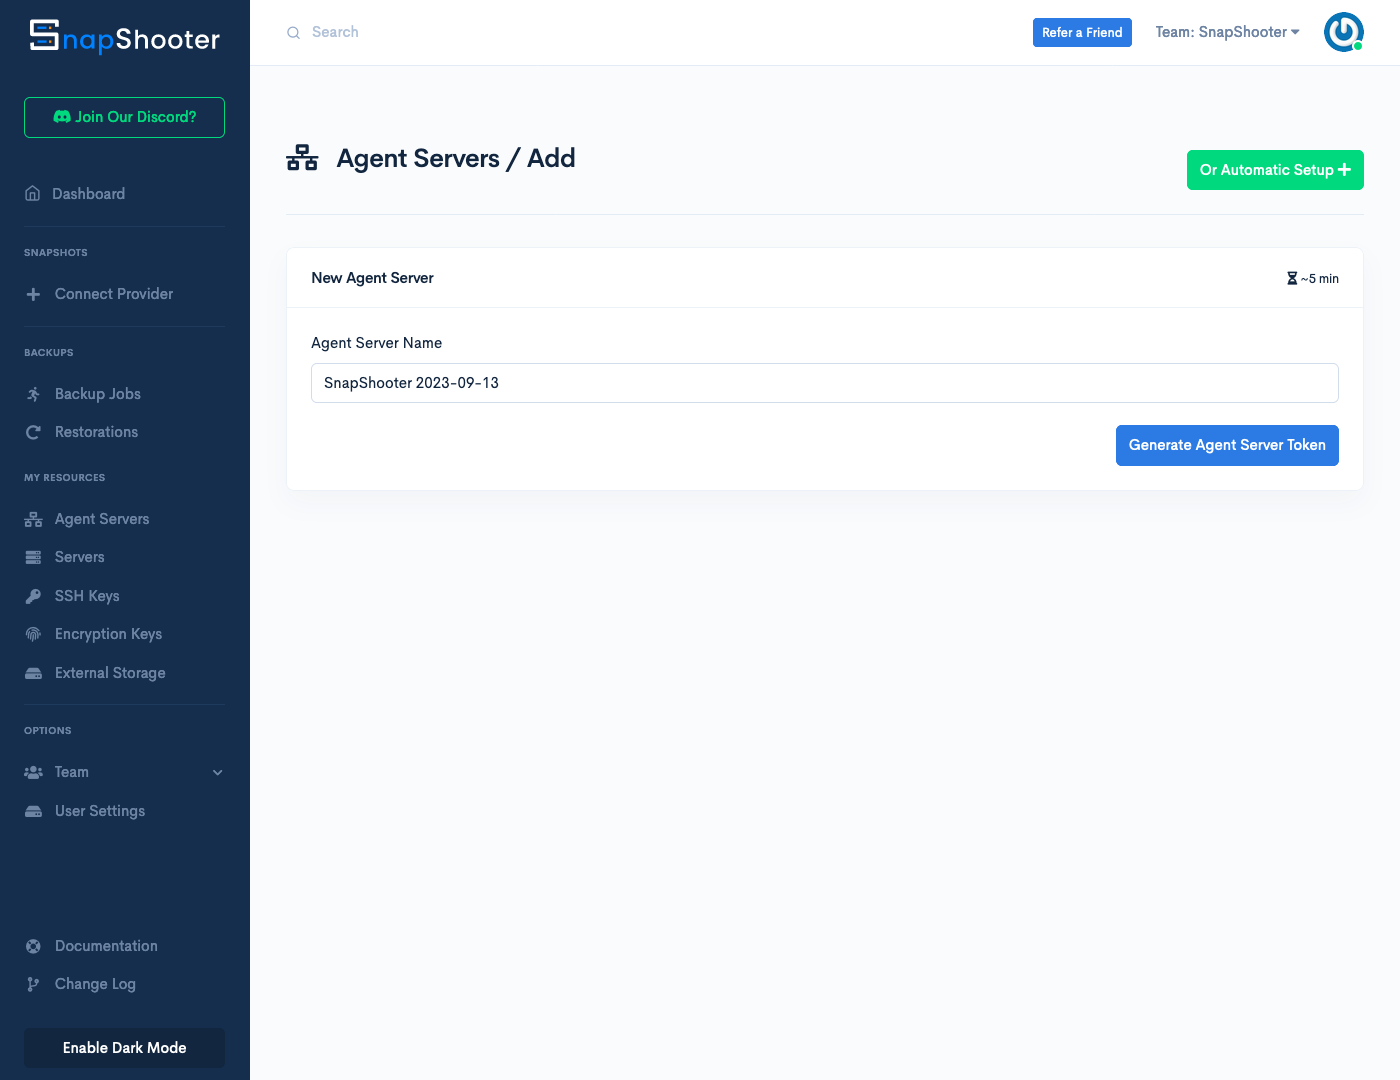
1. Head to your SnapShooter Dashboard and Manually Add an Agent Server.
2. Name your Server and click on Generate Agent Server Token.
3. Copy the Generated SnapShooter Agent Token.
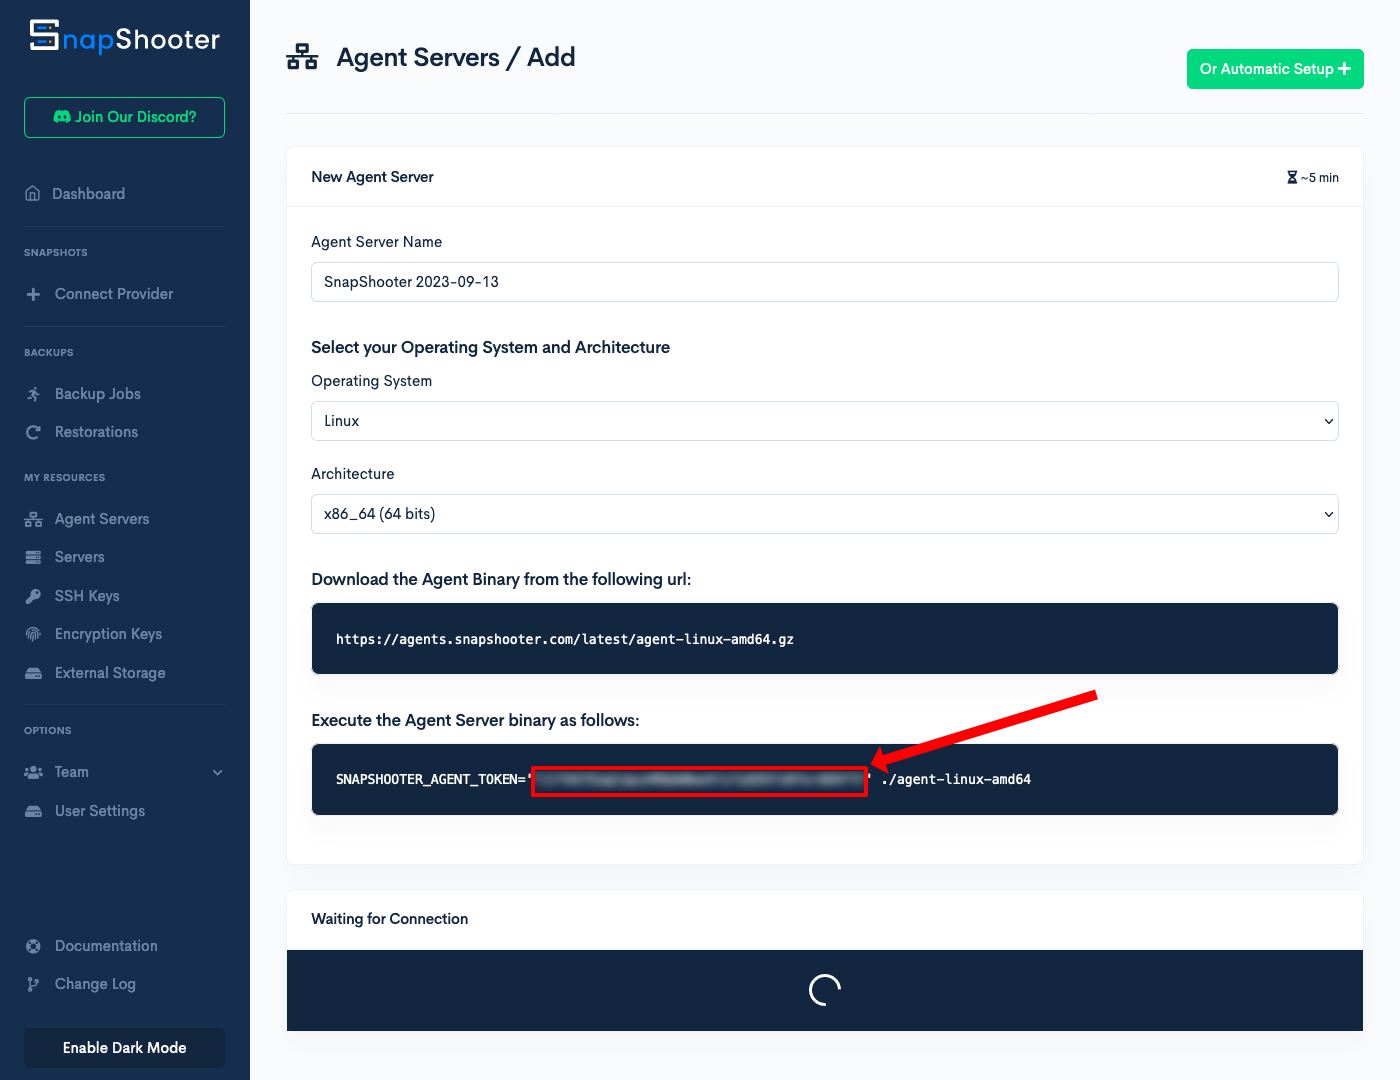
4. Save this Token in a safe place. This is important as the token will not be shown again in the future.
5. Provide the SnapShooter Agent Token to your container before running it. This can be done in several ways depending on how you run your containers. One of the many options is through Docker Compose, where the best way forward is to provide the token via either a .env file located in the same directory as your compose file:
# /path/to/project/.envSNAPSHOOTER_AGENT_TOKEN="<pase your token here>"And then, forward this environment variable to your container:
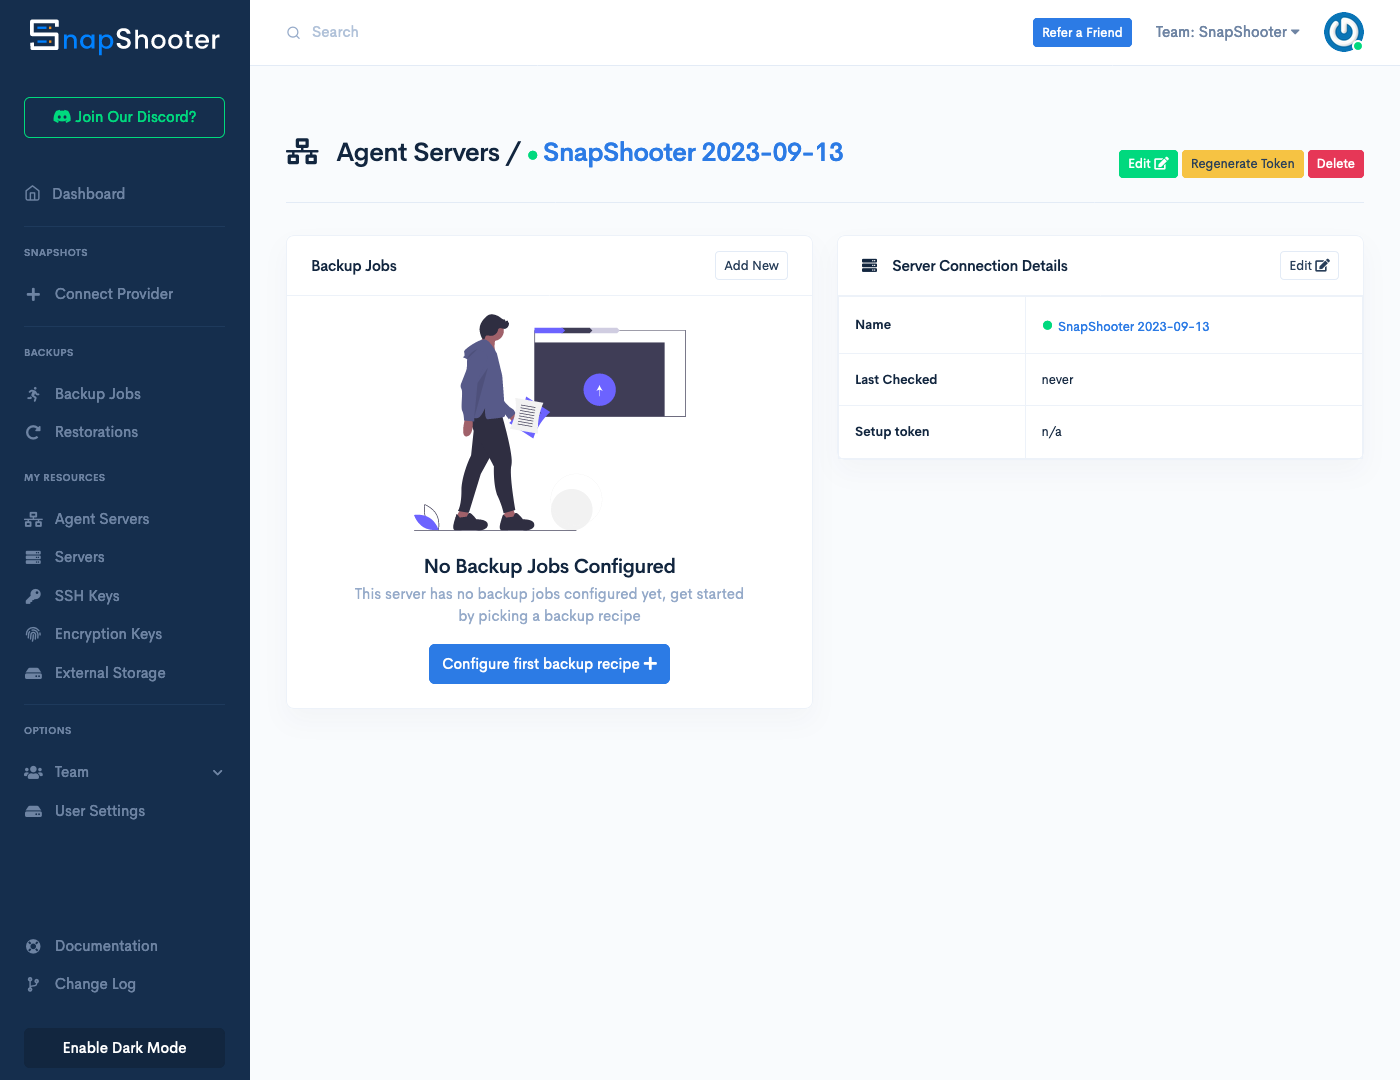
version: '3.8' services: # … snapshooter: # … environment: SNAPSHOOTER_AGENT_TOKEN: "${SNAPSHOOTER_AGENT_TOKEN}"6. Spin up your container and, on your browser, you should now see that your SnapShooter Agent is online and ready to configure for Backups.
Bonus: Smaller container images using Alpine as the base image
Most of the Dockerfile configuration is the same as when using Ubuntu as the base image, however, we additionally need to include `bash` in the package installation as it is not included in Alpine by default.
FROM alpine:latest WORKDIR /opt/snapshooter # Install required packagesRUN apk add --no-cache bash curl gzip tar # Download the Agent binaryRUN curl -sSL "https://agents.snapshooter.com/latest/agent-linux-amd64.gz" -o agent.gz \ && gzip -d agent.gz \ && chmod +x agent # Redirect stdout and stderr to log filesRUN ln -sf /dev/stdout /var/log/stdout.log && ln -sf /dev/stderr /var/log/stderr.log CMD ["/opt/snapshooter/agent"]The final image has a size under 30MB when using Alpine as the base image, while the image using Ubuntu as the base image has a size of approximately 120MB.
Thank you for helping us improve!